Happy Halloween and thanks for the photo, Goddess Blogs!
About.com Jewelry Making
Tammy has a few new projects incorporating pewter, a perfect substitute for silver.
Art Bead Scene
Art Bead Scene gets down to business and talks about loss leaders.
Beading Arts
Cyndi just finished a 45 hour project that reused antique steel cut seed beads...and some steel buttons!
Carmi's Art/Life World
Carmi takes classes with Swarovski Elements Ambassadors and finally learns how to crochet..
Cindy Gimbrone aka Lampwork Diva
It's fall and along with it comes a gray sky in the form of jewelry.
Earthenwood Studio Chronicles
Rotting veggies and over ripe fruit makes for bead inspiration and a delicious muffin recipe!
Lorelei's Blog: Inside the Studio
A little antiquing adventure, and Lorelei's got some cool new props for an upcoming craft show!
Snap out of it, Jean! There's beading to be done!
Jean reviewed a unique and very beautiful book: Metal Clay Origami Jewelry, by Sarah Jayne Cole. Please come and see the review on Jean's blog!
The Writing and Art of Andrew Thornton
Beadaholique has generously donated a leafy assortment of autumn-inspired beads and components. Find out how you can win this Thursday Giveaway!
Sunday, October 31, 2010
Saturday, October 30, 2010
Studio Saturday with Creative Impressions In Clay
 |
Welcome to Studio Saturday! Each week one of our contributors gives you a sneak peek into their studio, creative process or inspirations. We ask a related question of our readers and hope you'll leave comments! As an incentive we offer a free prize each week to bribe you to use that keyboard. The following week we choose a random winner. This weeks winner is Linda Landig. Congratulations! You have won a a pendant from the studio of Jennifer Heynen. Send Jennifer an e-mail with your address and she will get it right out to you. |
This week we visit the studio of Tari Sasser at Creative Impressions In Clay.
Happy Halloween! It's so much fun to decorate for Halloween. I wanted to make something fun for Studio Saturday that I can use to decorate my ears. I never seem to get around to making new designs unless I'm forced. Why not the iconic striped stocking and ruby red slippers? I love the "Wizard of Oz!" I have a T-Shirt with the same imagery on it and thought it would make terrific earrings. I formed both of these by hand, cleaned them up, put on the underglaze, fired, put on the clear glaze and fired again. I used Sparkly Mod Podge as the glue and sealant for the glitter. It would be sparkly on the entire shoe.
I have other plans to make lots of the legs for a necklace which I think would be hilarious. I am hoping my attempt to make a 2 part mold will be successful.
I also made these cigar/monster rice shaped dangler beads with the intention of making a necklace. Well, I didn't have time since I fired them too late. I have a pseudo design dancing around in my head. If that doesn't work out then earrings. I keep thinking Beetlejuice, which is such a great movie.
For Halloween, my question is:
What was your best Costume? If you didn't have one what would be your best costume?
Leave me a comment and you could win a pair of Candy Corn earrings! TREAT!!
Friday, October 29, 2010
Review -- Handcrafted Jewelry magazine
I was thrilled today to pick up the latest issue of Interweave's "Handcrafted Jewelry" magazine. This magazine fills a niche that's been missing in many magazines, taking basic beading projects to the next level. Along with the beading skills jewelry makers already know, the magazine introduces resin, polymer clay, enamel, fabric, collages, and more. It's definitely a must-buy!
Several projects really caught my eye, including Barbara Lewis' enameled beads (I've been fortunate enough to take her classes). She shows how to incorporate fabric and fibers into designs, and the magazine even gives a "ribbon roundup" to get you on your way.
 |
| an example of Barbara Lewis's work with her enameled beads and fiber |
As a collector of vintage tins, I'm also loving Candie Cooper's dapped bead caps made from discarded cookie tins. She makes them extra-special by making beaded felted balls to place in between the tin caps to create a stunning pair of earrings.
 |
| earrings by Candie Cooper |
My recommendation -- don't miss a single issue of this magazine. If you think you've seen it all, buy this magazine. If you feel you've fallen into a jewelry rut, buy this magazine. You won't regret it!
Purchase "Handcrafted Jewelry" magazine at your local bookstore or by clicking here.
Lori Anderson creates jewelry for her web site lorianderson.net. She writes the blogs Pretty Things and An Artist's Year Off. She lives in Maryland.
Thursday, October 28, 2010
Holiday Boot Camp Week 4 - Photography Tips
This week is all about photography. You can not sell online without great photography. It takes time, a little know-how and lots of practice to create great product photos. Lucky for you Etsy has the tips you'll need in one convenient location: Etsy's Photography Guide. These are great tips no matter where you sell you work online.
My Photography Tips:
1. Use your macro lens - the little tulip icon on your camera.
2. Use a tripod.
3. Photograph in natural indirect light, if possible.
4. Keep your backgrounds simple and non-distracting.
5. I use a piece of vellum to filter out the light and reduce dark shadows. I hold a sheet of vellum a few inches above my jewelry in the direction the light is coming through. (It also helps bright up your photo too.)
6. Use a photo-editing program to crop your photos.
7. Take at least 10-20 pictures of each piece - you'll end up with 5 good ones!
8. Make sure to vary your perspective - above, at eye-level, move that camera around. Work it, work it.
9. I like to have one close-up, or as I call it the "glamour shot", that would look great in a treasury.
10. Make sure to have at least one photo that shows the entire piece of jewelry laid out for one of your 5 shots. And bonus points if you can have the piece modelled in one of the photos.
Check out jewelry magazines and books for ways to style your photography. I love Stringing and Bead Trends for ideas for great props and backgrounds. Visit the Bead Trends blog and scroll through their Etsy round-up features for wonderful examples of jewelry beautifully photographed.
Personalize your photos - don't just choose a background, make sure it relates to your style of jewelry and your brand. Use the props and backgrounds to define yourself in the market place. Don't try to emulate another seller's style too closely - find your own signature.
Here is the Boot Camp newsletter from last week in case you missed it.
Wednesday, October 27, 2010
The Challenge of Color
“I am as curious about color as one would be visiting a new country, because I have never concentrated so closely on color expression. Up to now I have waited at the gates of the temple.”
~Henri Matisse
I am not real good with setting goals, but I like a good challenge. So this year I challenged myself to add COLOR to my designs. To quit waiting at the gates of that temple.
I sought out beads and components from artisans that would do just that and in so doing pushed the boundaries of my preferred color palette. I tend to make things that are dark, earthy. Bright colors are a actually challenge for me. But a challenge with great potential.
Since I have been pushing myself this year, I have had people say that they do associate color with me, and that makes me happy that perhaps I am pushing my self-imposed boundaries.
I thought it might be good to share some of the colorful art beads that I have been using this year... and some that I am lusting after ;-).
There have been some really outstanding challenges and contests and blog hops this year as well. Recently, Lorelei hosted a challenge to use similar components from Michaels, Lori Anderson hosted two highly successful Bead Soup parties and there are numerous contests, like the SoftFlex Flex Your Creativity Steampunk Challenge (voting is now open until December 15th - go vote for your top three favorites and get inspired!). And of course, the grandmother of all challenges is the monthly Art Bead Scene. It is really amazing to see the incredible variety of talent at work. You can't help but be inspired.
Here are some great challenges going on right now. Why not get inspired?
Art Bead Scene October Challenge
Artbeads.com What Inspires You? Necklace Beaded Contest
Rings & Things Your Designs Rock Contest
Fire Mountain Gems Six Themed Contests
Be sure to check out the news of contributing editor Lorelei Eurto and artist Erin Siegel who are writing a book and need your help with a general call for submissions. With their blessing, I am encouraging you to fill out the interest form found on either blog, upload your best ideas to the Flickr group and prepare to be amazed by some truly awesome talent (I have seen some cool stuff already in that Flickr pool)! All it takes is confidence in your ability to shine. (Oh, and a really great use of fiber, too ;-)
I had been offering a monthly challenge on my blog called "Inspired by..." earlier in the year. I took a few months off from hosting due to the commitments I had for my gallery exhibit. Now I am ready to start that up again with a new set of challenges. But I need some input... market research as it were, since YOU are the reason that I enjoy doing these...
Erin Prais-Hintz writes about all things that inspire her at Treasures Found::Inspiration Is Everywhere. Her jewelry designs are one-of-a-kind made one-at-a-time. She collects quotes and dust and invites you to send her your favorite (quote - not dust!) to enjoytheday@tesoritrovati.com.
Check out her brand spankin' new website at Tesori Trovati.
Editor's Note: We really want to know the answer to those questions here on the ABS. Answer all 5 in the comments below and I will draw one random winner for a $30 gift certificate to Humblebeads on Etsy! Winner will be drawn on Monday, November 1st.
~Henri Matisse
I am not real good with setting goals, but I like a good challenge. So this year I challenged myself to add COLOR to my designs. To quit waiting at the gates of that temple.
I sought out beads and components from artisans that would do just that and in so doing pushed the boundaries of my preferred color palette. I tend to make things that are dark, earthy. Bright colors are a actually challenge for me. But a challenge with great potential.
Since I have been pushing myself this year, I have had people say that they do associate color with me, and that makes me happy that perhaps I am pushing my self-imposed boundaries.
I thought it might be good to share some of the colorful art beads that I have been using this year... and some that I am lusting after ;-).
'Challenge of Color - Cool' by TesoriTrovati
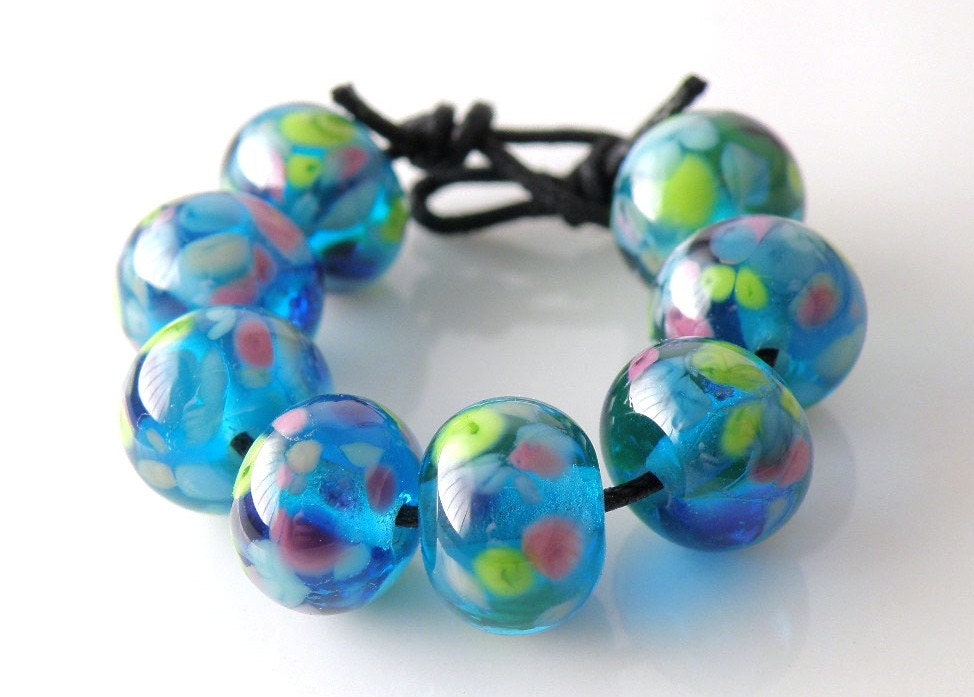
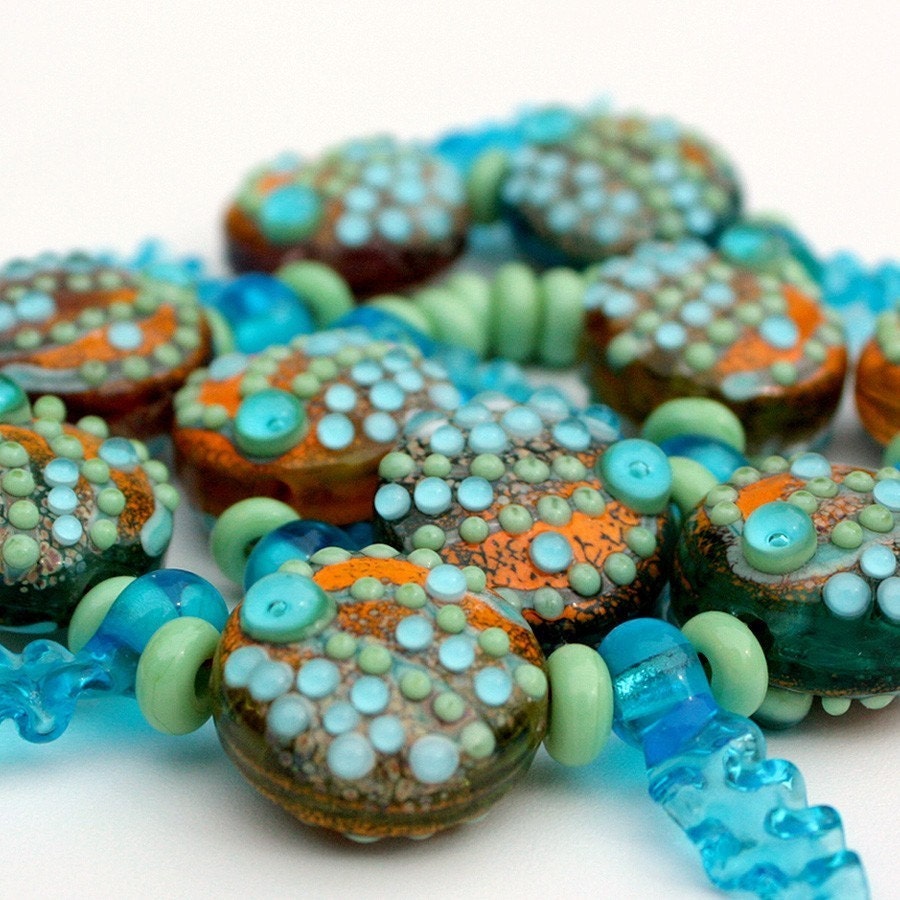
These are beads and components in a decidedly cool hue that I have been lusting after!
 $16.00 | 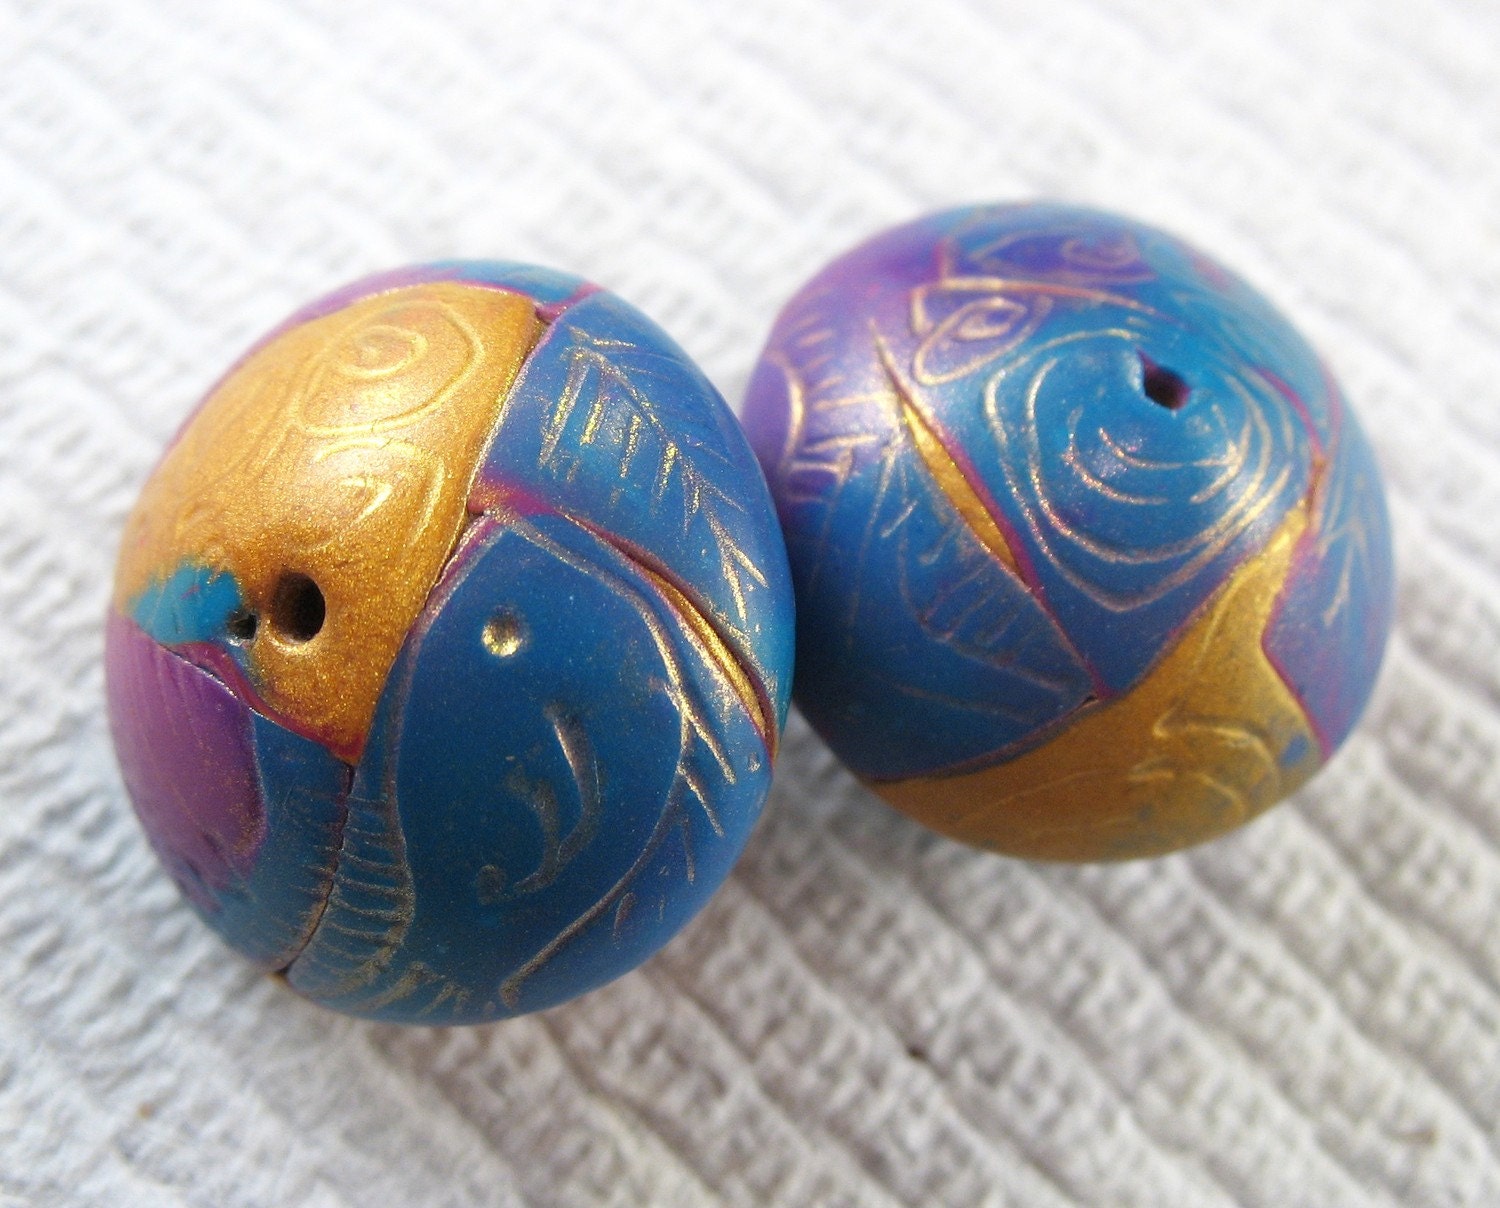 $10.00 |  $ |
 $20.00 | 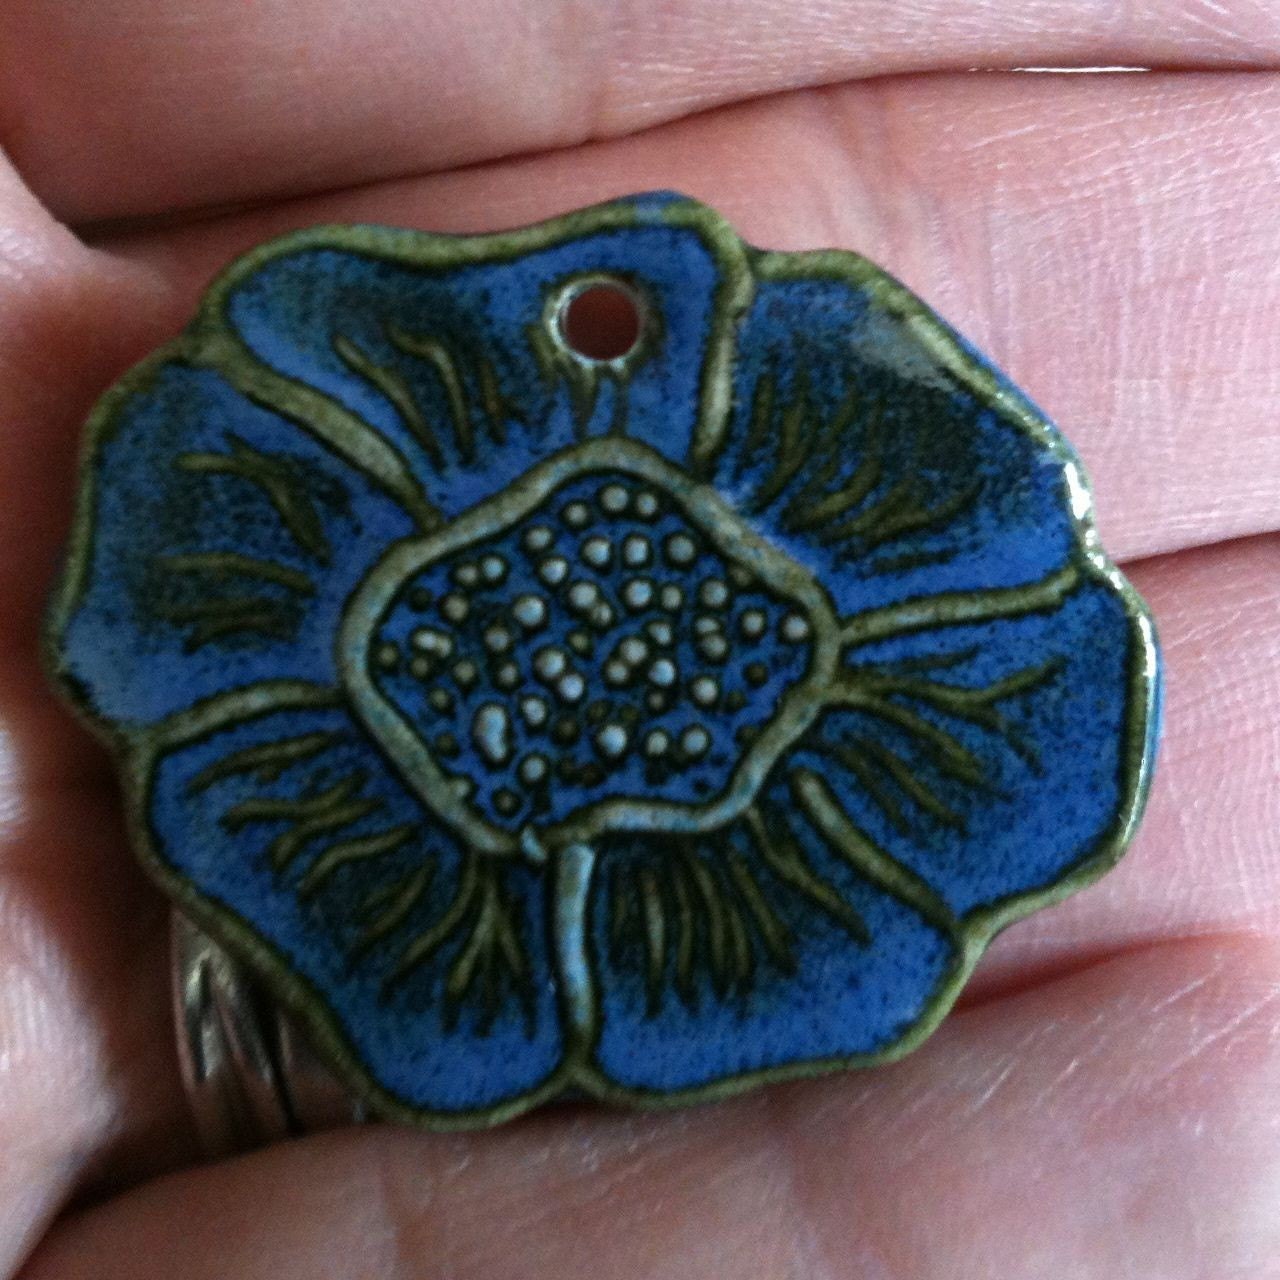 $18.00 | 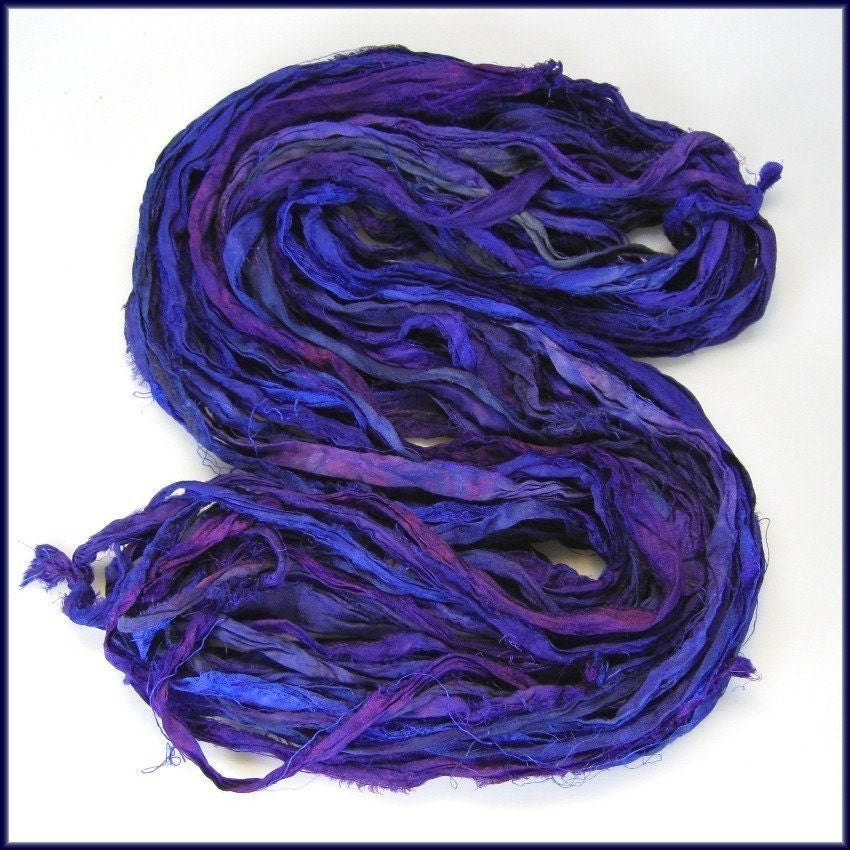 $ |
 $20.00 |  $10.00 |  $14.00 |
 $100.00 |  $9.50 |  $15.00 |
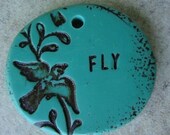 $10.00 | 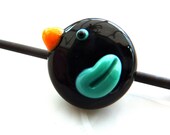 $6.50 | 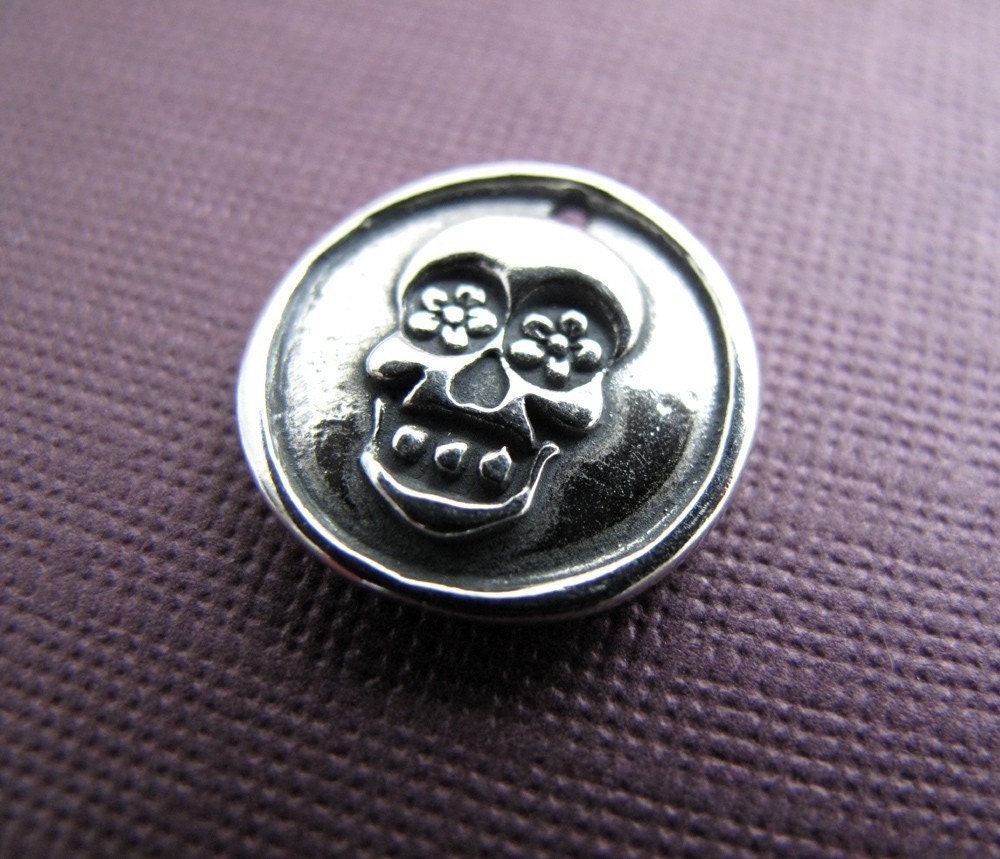 $22.00 |
Generated using Treasury HTML code generator by Whale Shark Websites.
'Challenge of Color - Warm' by TesoriTrovati
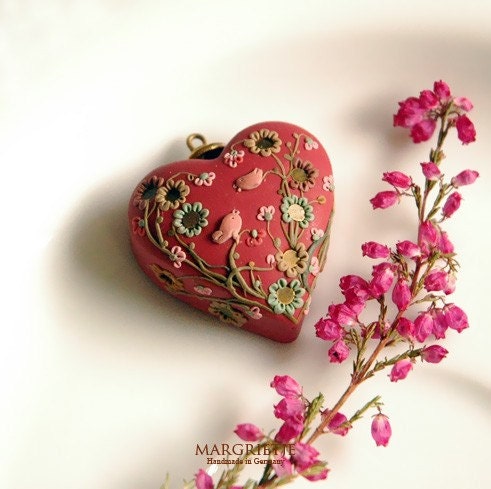
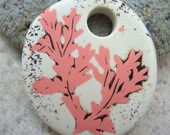
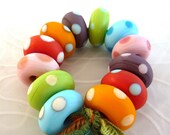
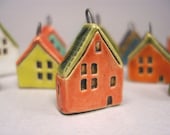
This is a sampling of things that I am lusting after in a more warm hue.
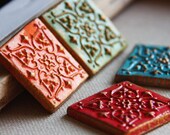 $18.00 |  $ |  $53.00 |
 $28.00 |  $9.00 | 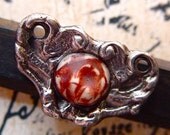 $8.99 |
 $9.00 | 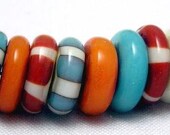 $20.00 |  $8.00 |
 $32.00 | 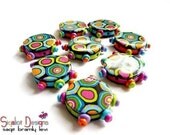 $28.00 | 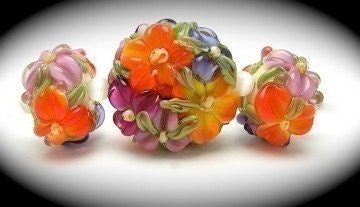 $27.99 |
 $18.00 | 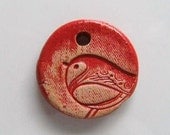 $3.00 |  $12.00 |
Generated using Treasury HTML code generator by Whale Shark Websites.
There have been some really outstanding challenges and contests and blog hops this year as well. Recently, Lorelei hosted a challenge to use similar components from Michaels, Lori Anderson hosted two highly successful Bead Soup parties and there are numerous contests, like the SoftFlex Flex Your Creativity Steampunk Challenge (voting is now open until December 15th - go vote for your top three favorites and get inspired!). And of course, the grandmother of all challenges is the monthly Art Bead Scene. It is really amazing to see the incredible variety of talent at work. You can't help but be inspired.
Here are some great challenges going on right now. Why not get inspired?
Art Bead Scene October Challenge
Artbeads.com What Inspires You? Necklace Beaded Contest
Rings & Things Your Designs Rock Contest
Fire Mountain Gems Six Themed Contests
Be sure to check out the news of contributing editor Lorelei Eurto and artist Erin Siegel who are writing a book and need your help with a general call for submissions. With their blessing, I am encouraging you to fill out the interest form found on either blog, upload your best ideas to the Flickr group and prepare to be amazed by some truly awesome talent (I have seen some cool stuff already in that Flickr pool)! All it takes is confidence in your ability to shine. (Oh, and a really great use of fiber, too ;-)
I had been offering a monthly challenge on my blog called "Inspired by..." earlier in the year. I took a few months off from hosting due to the commitments I had for my gallery exhibit. Now I am ready to start that up again with a new set of challenges. But I need some input... market research as it were, since YOU are the reason that I enjoy doing these...
- Do you like to participate in challenges/blog hops/contests?
- Which is your preference: challenges for the fun of it, blog hops for the variety and community-building, or contests for the possible glory?
- Would you participate just for the satisfaction of doing it and stretching your creative wings, or would you rather there be a potential to win a prize? If so, what sort of prizes are you interested in playing for?
- Do you like to have a short amount of time to complete it (say, one or two weeks)? Or do you prefer a longer time frame (one month or more)?
- Is there a theme that you would like to see done?
Do tell!
Enjoy the day!Erin Prais-Hintz writes about all things that inspire her at Treasures Found::Inspiration Is Everywhere. Her jewelry designs are one-of-a-kind made one-at-a-time. She collects quotes and dust and invites you to send her your favorite (quote - not dust!) to enjoytheday@tesoritrovati.com.
Check out her brand spankin' new website at Tesori Trovati.
Editor's Note: We really want to know the answer to those questions here on the ABS. Answer all 5 in the comments below and I will draw one random winner for a $30 gift certificate to Humblebeads on Etsy! Winner will be drawn on Monday, November 1st.
Tuesday, October 26, 2010
Autumn Wreath
I created this wreath with wire, Vintaj components and art beads as a house-warming gift for a dear friend. You could create a similar one to welcome your guests during your fall celebrations or as a special gift. Another variation would be to stamp the family name of the recipient on the name plate instead of 'welcome' for a more personalized touch.
Supplies:
4.5" 18 gauge brass color wire
11 3" lengths of 24 gauge brass color wire
5 polymer clay disk beads
1 arte metal name plate
3 brass maple leaves
2 brass slender leaves
2 brass woodland leaf pendants
2 brass fern charms
2 brass filigree leaf charms
1 brass trailing leaf
3 arte metal keys
5 6mm flat copper spacers
5 3" copper headpins
2 1" copper headpins
8" silk ribbon
Acrylic Paint Dabber
Renaissance wax
Steel wool
Tools: bench block, letter stamps, ball peen hammer, rivet hammer, Phillips head screw driver, brass texture plates, round and flat nose pliers, wire cutters.
Directions:
1. Create the wreath by wrapping the wire into a large loop, approximately 5 1/2" wide. Wrap the wire in into a large loop 9 times around. Create a wrapped loop at the top of the wreath and wrap the ends of the wire around several times for a secure finish.
2. Texture the leaves with the hammers, texture plates and screw driver. (Watch this video for several techniques.) Highlight the textures with the steel wool.
4. Place the leaf pendant on the bench block and strike the center with the round end of the ball peen hammer to shape the leaf in the concave form. Repeat with the other leaf and the two filigree leaves.
5. Attach the welcome name plate to the wreath by wrapping it the 24 gauge wire.
8. String a flat spacer and polymer clay disk bead unto a 3" headpin. Attach the headpin to the wreath by wrapping it around the wire several times.
Resources: Disk Beads, Humblebeads. All brass and wire from Vintaj - retail at Bello Modo. Silk Cord, Angela Brittain. Copper findings, Rings & Things.
Supplies:
4.5" 18 gauge brass color wire
11 3" lengths of 24 gauge brass color wire
5 polymer clay disk beads
1 arte metal name plate
3 brass maple leaves
2 brass slender leaves
2 brass woodland leaf pendants
2 brass fern charms
2 brass filigree leaf charms
1 brass trailing leaf
3 arte metal keys
5 6mm flat copper spacers
5 3" copper headpins
2 1" copper headpins
8" silk ribbon
Acrylic Paint Dabber
Renaissance wax
Steel wool
Tools: bench block, letter stamps, ball peen hammer, rivet hammer, Phillips head screw driver, brass texture plates, round and flat nose pliers, wire cutters.
Directions:
1. Create the wreath by wrapping the wire into a large loop, approximately 5 1/2" wide. Wrap the wire in into a large loop 9 times around. Create a wrapped loop at the top of the wreath and wrap the ends of the wire around several times for a secure finish.
2. Texture the leaves with the hammers, texture plates and screw driver. (Watch this video for several techniques.) Highlight the textures with the steel wool.
3. Stamp "welcome" into the arte metal name plate with the letter stamps. Use the ball peen hammer to texture the blank. Use the acrylic dabber to add paint, rub off the excess with a paper towel. After the paint has dried rub a light coat of wax to protect the color. Paint two of the large leaves in the same way.
4. Place the leaf pendant on the bench block and strike the center with the round end of the ball peen hammer to shape the leaf in the concave form. Repeat with the other leaf and the two filigree leaves.
5. Attach the welcome name plate to the wreath by wrapping it the 24 gauge wire.
6. Attach the leaves to the wreath by wrapping them with the 24 gauge wire, securing them to the wreath. I found that wrapping the wire criss-cross over itself helps the leaves stay in place on the wreath. Layer some of the leaves together for an interesting texture. There is no right or wrong way to the attach the elements, whatever holds them most secure when wrapping the wire around the wreath will work.
7. String a key and a filigree wreath onto a 1" headpin and from a loop. Attach to the wreath.
8. String a flat spacer and polymer clay disk bead unto a 3" headpin. Attach the headpin to the wreath by wrapping it around the wire several times.
9. Add the ribbon to the top loop on the wreath, tie a simple knot at the top of the ribbon.
Resources: Disk Beads, Humblebeads. All brass and wire from Vintaj - retail at Bello Modo. Silk Cord, Angela Brittain. Copper findings, Rings & Things.
Monday, October 25, 2010
Designer of The Week
Each Monday the Art Bead Scene features the Designer of the Week. One of our editors picks her favorite from the Monthly Challenge entries. This week's featured designer is... Sundown Bead Designs

Here's what Art Bead Scene editor Jennifer Heynen had to say about Shelby's piece...
"Shelby's metal work is absolutely gorgeous. I love the different textures she has used in this necklace."

Here's what Art Bead Scene editor Jennifer Heynen had to say about Shelby's piece...
"Shelby's metal work is absolutely gorgeous. I love the different textures she has used in this necklace."
Sunday, October 24, 2010
Sundays with Cindy

Let's see what our Bead Bloggers have been up to this week....
A Bead A Day
Need help embracing seasonal change? Lisa uses a bit of swarovski sparkle to make the leap!
About.com Jewelry Making
Tammy has a collection of crafting Halloween project ideas as well as an adorable monster pin for you.
Art Bead Scene
A free jewelry project by ABS Editor, Cindy Gimbrone.
Barbe Saint John
Barbe 's finally a Cover Girl!
Beading Arts
Are you interested in adding found objects to your bead embroidery? Cyndi has just released the fourth chapter of her e-book, which shows you how to go wild!
Carmi's Art/Life World
Carmi takes a companies ribbon sampler and turns it into wearable art!
Cindy Gimbrone aka Lampwork Diva
It's time to get educated and Cindy provides some stats along with rainbows.
Earthenwood Studio Chronicles
Check out the goodies Melanie found at an antique mall...What would you craft with these items that are full of history?
Lorelei's Blog: Inside the Studio
Lorelei is teaming up with designer Erin Siegel, to write their first beading book! Come on over and learn how you can sign up to submit work for the book!
Snap out of it, Jean! There's beading to be done!
Jean has contributed a one of a kind jewelry piece which she made to help raise funds for Andrew Thornton's medical bills. She is delighted to help, on behalf of her family. Please come and see the piece and consider bidding. Thanks so much!
The Writing and Art of Andrew Thornton
Three of Andrew's necklaces are amongst the gorgeous finalists in Soft Flex Company's "Flex Your Creativity Beading Contest". Check out all of the Steampunk-inspired designs and VOTE today!
Subscribe to:
Comments (Atom)


