Showing posts with label handmade beads. Show all posts

Monday, December 28, 2015

Amuse the Muse - Tiny Beads - with Rebecca of Songbead

Hello everyone! How have the last few days been for you? Wonderful, busy, tiring; full of good food and drink and loved ones, I hope. And of course, beads. Did anyone receive any art beads for Christmas? I didn't (sob!) - but I did treat myself to a new book which I'm excited to dive into! I also treated myself to a gorgeous pair of earrings. Handy being part of a group of super talented ladies here, isn't it? 

Anyway, onto Amuse the Muse - and my last post of the year! Can you believe it?! Our last lot of tiny beads - or any beads - for 2015. 


Here's to 2016 and a year full of creativity, fun - and beads!

And now for the BeadBlogger Links. Enjoy the end of the year everyone!


Rebecca is a Scottish jewellery designer; currently living in the capital city of Edinburgh. You can read more about her and her work at her blog, songbeads.blogspot.com and see more of her jewellery at songbead.etsy.com. She also has a supplies shop at thecuriousbeadshop.etsy.com.

Monday, May 11, 2015

Amuse the Muse - Tribal-inspired beads - with Rebecca of Songbead

Hello all! It's the start of another week, and even though it's only 4 days since your last Amuse the Muse post, I'm here with another one - lots of delicious art beady eye candy for you today, continuing on with our tribal-inspired theme. Be sure to share your favourite beads and bead artists in the comments below!


And now for the BeadBlogger Links. Have a great week!


Rebecca is a Scottish jewellery designer; currently living in Edinburgh, capital of her native land. You can read more about her and her work at her blog, songbeads.blogspot.com and see more of her jewellery at songbead.etsy.com. She also has a supplies shop at thecuriousbeadshop.etsy.com.


Monday, December 8, 2014

Amuse Your Muse with Rebecca of Songbead

Hello ABS-ers! It's December.....I'm pretty sure I say this every month, but how on earth did that happen? How did we (almost) reach the end of 2014? I'm really not sure! I feel like I had so many more goals and accomplishments to achieve before the year's out. Well, we've got three weeks I suppose - we can still squeeze some in! 

For one reason or another, last month's holiday bead theme got cut short. Sometimes it happens like that, depending on what dates the Mondays fall on. So I thought - it's December, it's chilly, we're heading towards the holidays - be that Hanukkah, Winter Solstice, Christmas, or even just downtime spent with family and friends (you can't really beat that, can you?) - let's carry on with the holiday beadzzzzzz. 


TooAquarius - These wee snowmen are full of character. 

Gaialai - Very cute, and full of colour - these dreidels are fab.

Polyclay Day OK, so this one is a necklace - but how sweet are Polyclay Day's handmade snowflake beads? I love their simplicity.

Jettabug Jewelry  - I love the particular holiday shades that Jetta has selected. What a gorgeously rich crimson red!

Now for a wee bit of housekeeping. I realised the other day that no winner had been drawn for my last Inside the Studio post. Oh no! And I certainly do NOT want the lucky winner to miss out. So I did my own little draw (with the help of random.org), and the lucky winner of two pairs of my handwoven beads is.......

Catherynne Henderson! Catherynne, email me to claim your prize and let me know which colours you'd like to receive. 

Don't forget to check out this week's Inside the Studio post for the chance to win one of Mary Harding's new silver metal toggle clasps.

And now for the BeadBlogger Links. Have a great week!


Monday, September 8, 2014

Amuse Your Muse Monday with Rebecca of Songbead

My first Muse post in over a month....poor show Rebecca, poor show! In fairness to myself, I have had a CRAZY 6 weeks, as you'll know if you follow me on Facebook - moving from Northern Ireland to Scotland, where I'm originally from, at the end of July, moving in with my Mum as a temporary stop gap as we get settled which meant a whole week of solid sorting, charity shop donating, trips to the recycling centre/tip, painting, cleaning and reorganising.....and then a huge craft fair that lasted for the first 3.5 weeks of August (and you can read about that here too, if you're interested). It's also been (probably not unsurprisingly!) a bit of an emotional upheaval, leaving somewhere we loved for somewhere that we do also love, but is my hometown. Wonderful, but there's not that neutral feeling of potential and discovery that you get in a brand new city - and country, as we discovered last year! - and it will probably take some work to make this move a journey of rediscovery, which it needs to be.  SO, I'm sure you can understand, both time and mental space have been at a premium for me these past few weeks! And whilst they continue to be so, I know I will be sliding into a routine soon, and before I know it, it'll be November and the holiday craft fair season will be upon us. Phew! It really is non-stop in the handmade world. 

Anyway, I hope you are ready for some new beady finds. I certainly am. It's September and the beginning of the favourite season for many - although not for me though - sorry! Autumn is just too soggy for me over here in the UK. Having said that, I do love a good crisp Autumnal day, with the crunch of fallen leaves under my feet, the sun low in the sky and perhaps the smell of a log fire in the air.....nothing can beat it! So this month's theme is....Autumnal beads. Didn't see that coming, did you?!

I adore adding textural elements to my work, and I know I'm not the only one. Aren't these felt beads simply delicious? 


Sometimes a really stunning focal bead can really dictate the way a piece of jewellery goes. I have a feeling that this would be the case with this beautiful lampwork tree...


I am so entranced by Bo Hulley's handmade leaf pendants and buttons. Each one is created using a real leaf from her garden - amazing or what?


I have a strange aversion to square and rectangular beads....but not when it comes to Sue's gorgeous chiclets! I have a set of these in beautiful summery shades, but I may well be tempted into these warm Autumnal colours....delicious! 


Another ceramicist who uses real leaves from her garden is Kylie Parry. Seriously, if I ever win the lottery (sadly unlikely as I don't often play!), I will employ her to be my personal bead artist. Really. She doesn't know this, but Kylie, if you're reading this, I will pay you well - I promise! 


My co-editor Claire has returned to her ceramic roots recently, and turned her very talented hands to making clay beads. Wow! I have a bunch on the way. CANNOT WAIT for them to arrive! There are still some left in her shop so do hop over and have a peek!


How magical are these beads? Donna Millard always astounds me with her incredibly beautiful lampwork designs and this Autumnal set is no exception. 


Another lampwork set to die for....just look at the textures! The petals! The silver decor! Yum....


Lastly, this 'moon glow' pair of tree beads....I can just imagine the beautiful moon-lit setting that these beads capture. Perfect for the season. 


So, please leave your Autumnal bead links in the comments! I can't wait to see what you will share for next week. 

And now for the BeadBlogger Links. Have a great week!

Carmi's Art
I have a sweet resin project on Scrapbooking.com's blog this week. Paper Embellishments with Jewelry Resin featuring vintage postcards.http://scrapbooking.com/article/82235


Rebecca is a Scottish jewellery designer, based in her country's capital, Edinburgh. You can read more about her and her work at her blog, songbeads.blogspot.com and see more of her jewellery at songbead.etsy.com. She also has a supplies shop at thecuriousbeadshop.etsy.com.


Thursday, June 26, 2014

Lampworking Talk: Getting Started


Let's talk about LAMPWORKING. A torch, a flame and glass in a molten state!

definition from Merriam-Webster online dictionary

It was the fact that glass could be malleable that blew me away. Glass in a molten, malleable state? Well who knew? That's how I felt when I first began lampworking. I had never seen glass worked before and I was immediately hooked. I began to set up a studio in my basement before I even finished that first class.

What you'll need to get started


To begin lampworking you'll need a torch. I have been using a Nortel Minor since I began lampworking in 2005. It has served me exceptionally well. I can manage to create some pretty big beads with this torch. Although, at this point I'm ready to upgrade to a larger torch. A minor torch is a basic, entry level propane/oxygen mixing torch.  Most torches require a source of fuel and heat. The fuel being propane and the heat coming from oxygen. Propane tanks MUST be outside. I have a fuel line feeding through the wall from the tank outside to the torch. My source of oxygen is from an oxygen generator (not pictured) also known as an oxygen concentrator. Suppliers sell oxygen concentrators or you can find sources that refurbish medical grade concentrators. Oxygen can also be purchased by the tank. I started out using tanked oxygen but found I went through oxygen quickly and refilling the tank to be a pain. Many folks wouldn't use anything but tanked oxygen because it produces a hotter flame. It's a personal choice to made. Nevertheless, if you're working large amounts of glass you'll definitely need a propane/oxygen set up.

There are folks who use Mapp gas. Mapp gas allows you to connect a torch head directly to the small tank and attach/clamp the tank to your bench top and work the glass. I haven't used Mapp gas so I can't speak to it but I understand it works reasonably well and is an inexpensive way to get started. 

A stainless steel or fire proof work surface is also necessary. As you can see in the photo at the top of the blog I have a stainless steel surface under my work area.


Ventilation is paramount!
I have a fan behind me which blows are toward this fan which ventilates to the outside. I wouldn't say this is the best set up. One of my goals this summer is to upgrade my ventilation system. A quick and basic explanation of studio ventilation is two fold: remove toxic fumes produced from the burning glass so you're not inhaling them and replace good air into the studio space.
It is imperative to do your research on ventilation.

The following are a few links to get you started:
Art Glass Answers topic on ventilation 
Andrea Guarino-Slemmons covers ventilation.
Aspen Hot Glass has some information on ventilation.
Lampwork etc. is a great resource for lampworkers. I have included a link to the forum on Safety. You must be a member of LE in order to view this link.


A kiln is necessary. After glass has been heated it needs to be tempered at an even temperature for a certain amount of time in order for all the molecules to realign (there's lots of science and scientific terms for this process but this is the basics of it). A kiln holds the newly formed glass beads at 950 - 960 degrees Farenheit for roughly 15 minutes per 1/4 inch of glass in order for this process to happen. This process is referred to as annealing. Annealing helps the beads to be more stable so they are less likely to break (as long as they are treated properly) and will have a long, happy life in your jewelry designs. When purchasing glass beads it's to note if the seller states that the beads are annealed. 

A variety of kilns exists on the market. Some are small and made specifically for bead makers. A kiln doesn't have to be as big as mine. I purchased this kiln with the idea I may want to work with other materials. Things to consider when you're looking for a kiln:
      • A bead door. So you can easily flip it up and add your beads without losing all the heat.
      • Maximum kiln temperature. Consider future plans and uses.
      • Size and placement of the kiln
      • Electrical usage
      • Voltage capacity - Where can you safely plug it in?


Glass rods! Of course you'll need copious amounts of glass rods which then leads to figuring out ways to store all these glass rods. I'm ready for a make over of my glass storage too. There are different types of glass available to purchase; boroscillate (commonly referred to as boro) and soda lime (soft glass). These two glasses don't play nicely together. The Coeffecient of expansion (COE) on these glasses are different and when the two are used on the same bead it is likely the bead will crack. COE refers to the rate at which the glass cools. Again there is science happening here but if one glass cools faster than the other it will shrink up faster and cause the bead to crack. When purchasing glass it's important to know the COE will match any other glass you're working with.


Stainless steel rods or more commonly referred to as mandrels are used to create a bead on. 


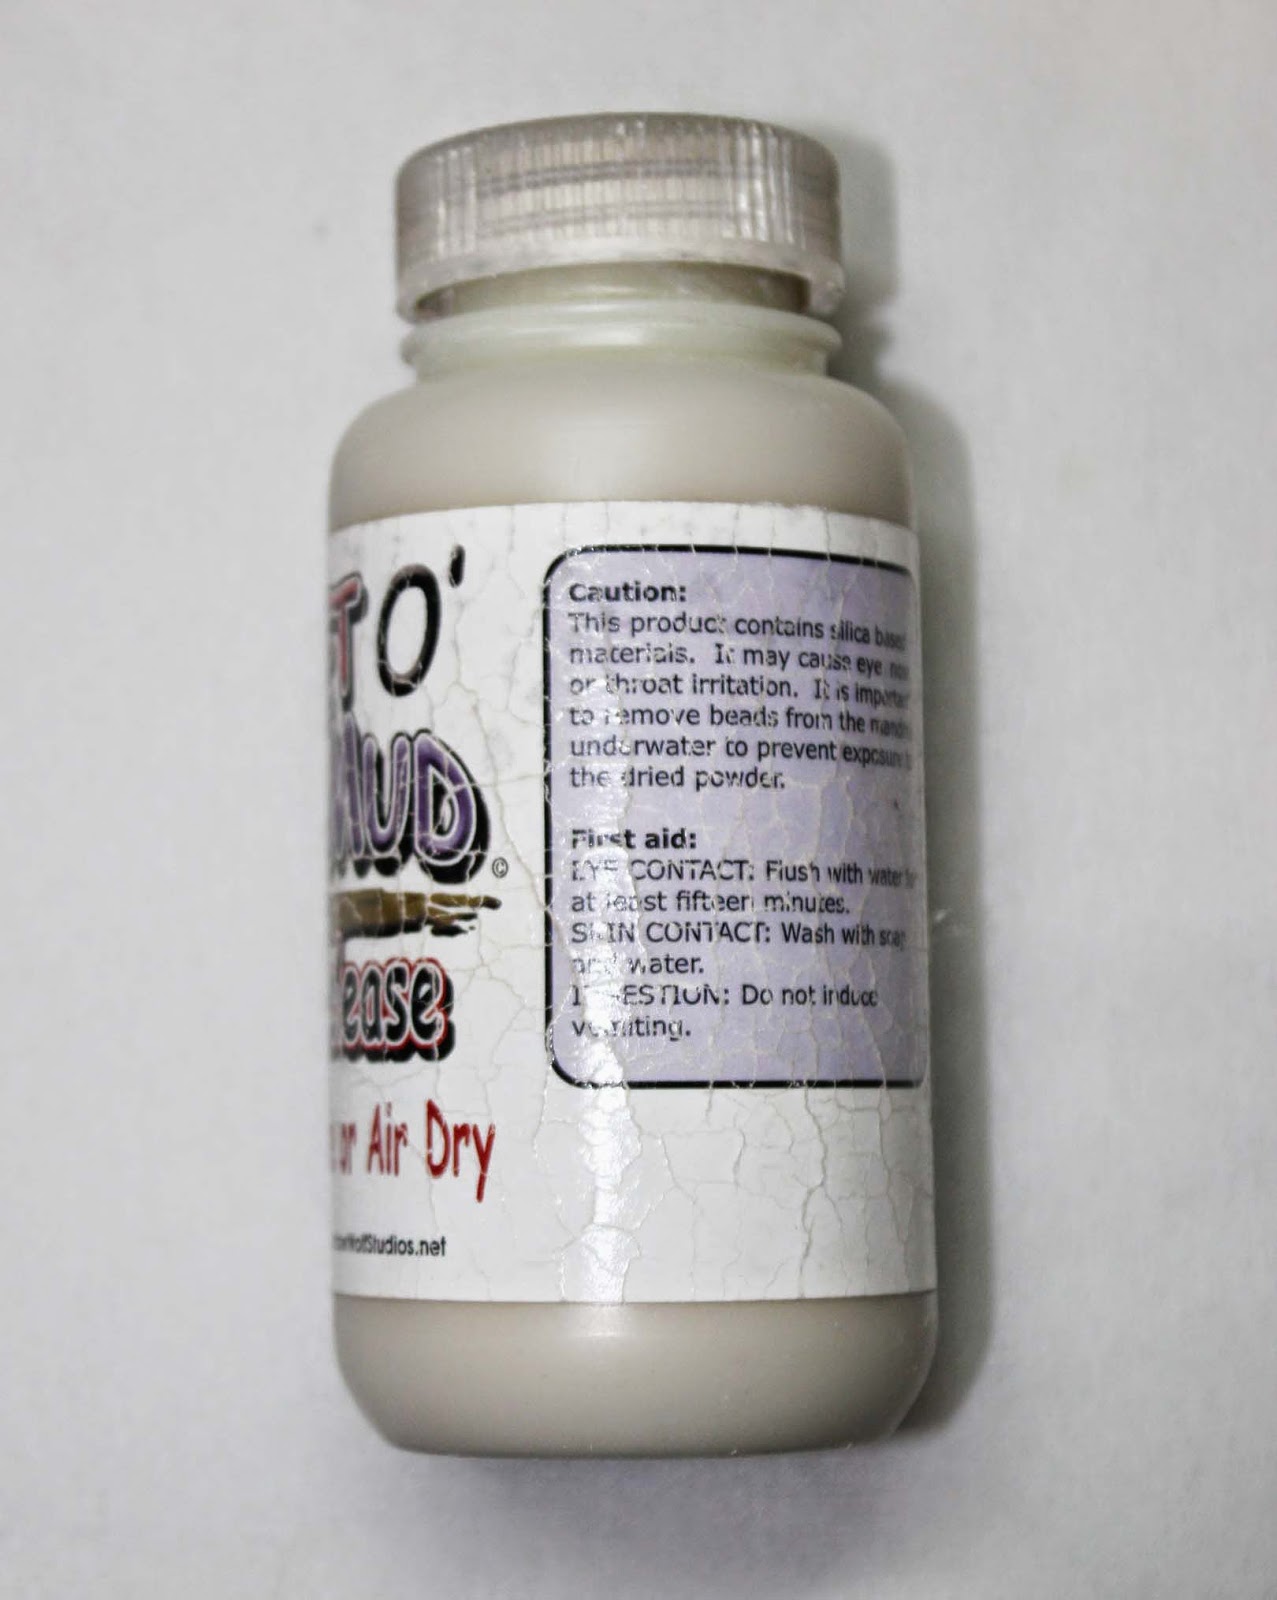
The mandrel must be coated with a release so you can remove the bead from the mandrel after it has been annealed and cooled. I prefer a bead release that can be both air dried and flame dried. I don't always have the luxury of my schedule being solely my own to make. If I have a couple of hours free and want to fire up the torch I like to have the flexibility to flame dry mandrels. 


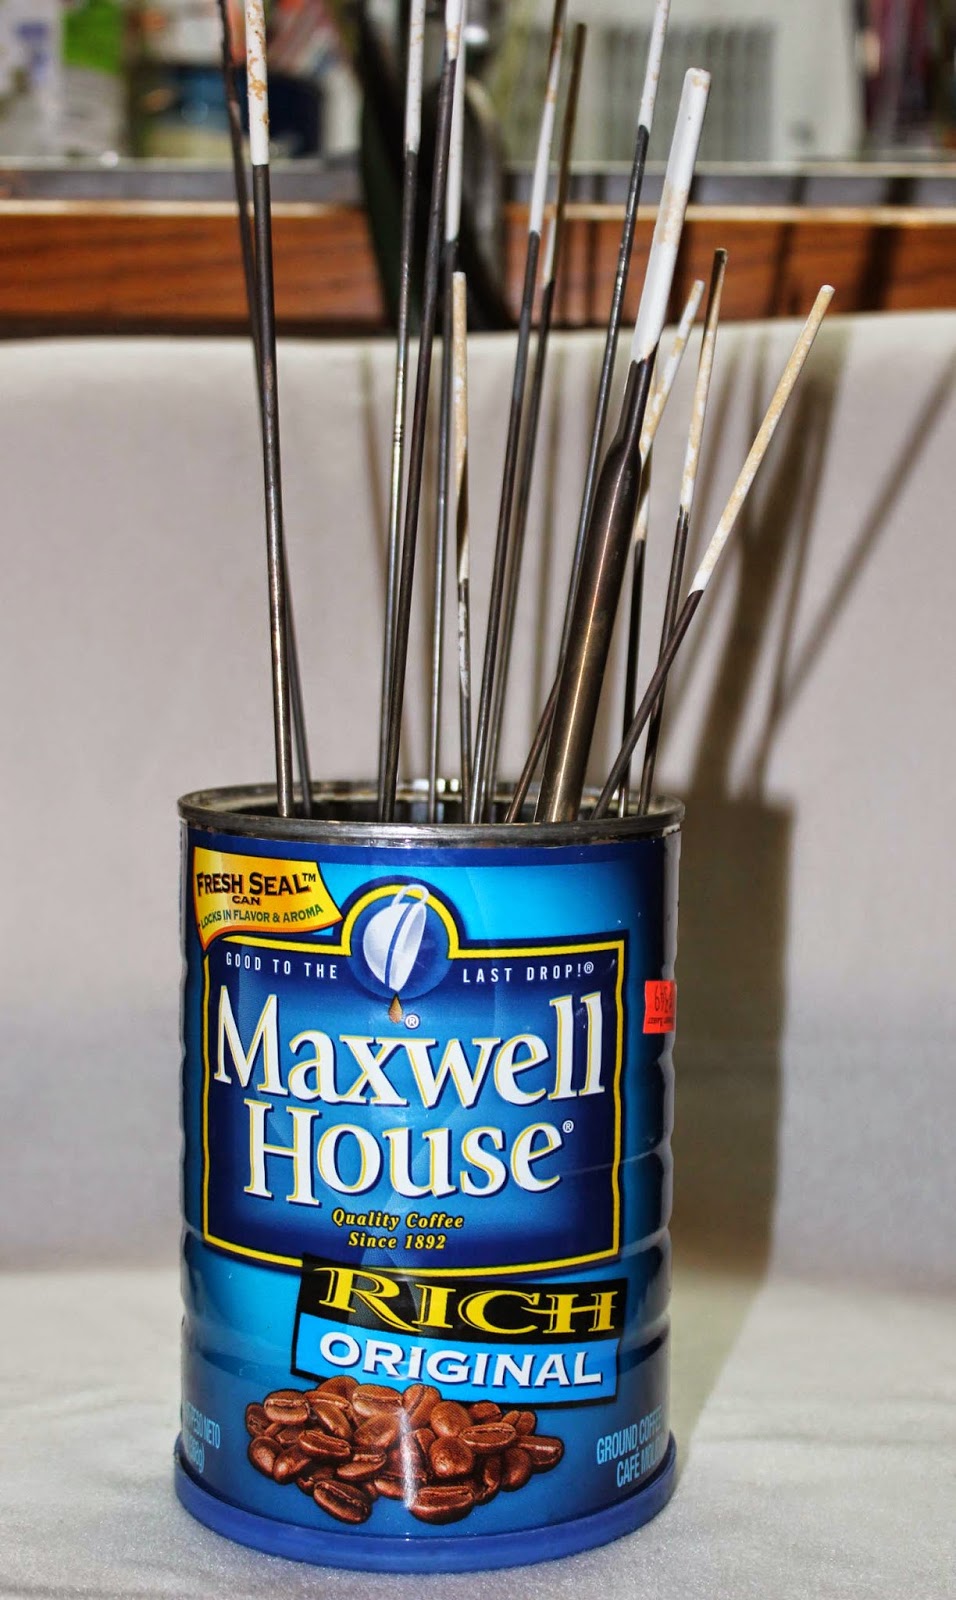
A good ole fashion coffee can filled with sand serves to hold my mandrels that have been coated in bead release.


Eye protection is at the top of the list of safety concerns. If you're working with soda lime glass you'll need a pair of didymium safety goggles to protect your eyes from the flare produce from the melting glass. Wale Apparatus carries a great line of their own safety glasses which have cheater options. I just love that I can change my cheater out without replacing the whole didymium goggle. 
Please note that other types of glass requires different types of safety googles.

Tools


Graphite marvers and paddles act as work surfaces and shaping tools.


Stainless steel tools for shaping, poking, dragging, cutting etc.

Whispering Waves. Swirls created using stainless steel straight tool.


Shaping tools. Lentil press from Jim Morre, Round bead shaper from CG Beadrollers and a small flat press.


Flat masher and my new masher from Arrow Springs (I'm excited about using this one!).


Presses for shaping beads from Zoozis


A mug warmer to warm murrini slices prior to introducing into the flame.

Gulf Side Beach with murrini on a bead 


Safety 

In addition to eye protection and proper ventilation there are a couple of other safety concerns.


Burns will happen. Be prepared. Always keep a container of water on your bench too. Cold water immediately cools a burn spot.


A safety mask properly rated for the material you're working with.


I like to use enamels in my beads and when I do I always use a safety mask. I don't use enamels that often because of the safety risk involved but sometimes inspiration requires enamels.


Resources:
Wale Apparatus - a great source for all things lampwork AND their own line of eyewear which I love
Frantz Art Glass - a great source for all things lampwork
Jim Moore Tools - high quality tools for glass working
CG Beads - variety of bead rollers (as pictured above with the flames on handle)
Zoozis - presses and lampworking tools
.
Thanks for visiting ABS today.
Have you been biten by the lampworking bug?
Do you buy glass beads or are you ready to start making your own?
Ema Kilroy is a lampworker and metalsmith living and working in Central Massachusetts.