Friday, February 28, 2014

February Monthly Challenge Recap

February's challenge painting is bright and modern with a romantic feel in a party atmosphere. The modular planes of color mixed with the subtle house shapes and the obvious roses make this perfect for the month when we declare our love (and suffer from a general lack of color in the northern hemisphere!). These creations were just the thing to beat the winter doldrums.
We are so delighted that you chose to share them with us.

Check out the beautiful art jewelry created from the theme.


We love seeing how you are inspired by the art that we choose, and we love to find new art bead artists. You are what makes the Art Bead Scene a place for celebrating art and beads!
We LOVE each of you!
 
Your turn!
 
Click the InLinz Link-up below to add your blog post to the hop!
Please add your exact URL to the blog hop for the
February 2014 Art Bead Scene Monthly Challenge Recap.


Thursday, February 27, 2014

Overcome Fear and Self-Doubt in Your Jewelry Business


I've been thinking this week about what steals our creative mojo.

Sometimes it's a busy schedule, a health issue, a family crisis - difficult things that we have to wade through and grab onto little bits of creative times when we can.

Other times it's a matter of psyching ourselves out. Comparing ourselves to others, feeling our work is not good enough, feeling envious of someone's success, not feeling like you have anything new to say or create. Comparison really is the thief of joy.  It can zap your enthusiasm and energy, it can shrivel up a long hoped for dream like a little raisin.

I've been reading an excellent book called, "I Just Like to Make Things" by Lilla Rogers. It's geared more toward 2-d artists but there are some amazing lessons for all creatives in the book on how to deal with the common inner struggles of the artist.  Below are a few things I've learned from the book:

People buy your joy and passion
So what makes you joyful, what makes you feel alive?  How can you bring that joy into your jewelry?  What you are in love with and excited about? That's what's going to help you succeed. Create things you absolutely love.

Whenever you are starting to compare yourself to others bring it back to joy -  what's your joy? What makes you deliriously happy and then go work on it!

Change envy into admiration and then into action.
When you feel envy or like your work isn't as good, ask yourself what is that you admire about that artist? What specifically has captured your attention? What could you do to improve your work based on what you admire? Create an action plan.

So, if you love a designer's website ask yourself what specifically do you love? Her photographs. What could you do? Learn to take better photos. Your plan on action? Take an digital photography class.

Improve your Skills by Practice and Instruction
There is no short cut, you have to put in the practice and learn the basics to improve your craft.  Take classes, read books, watch videos and make, make, make.  The more you create the better your work will get, it's a proven fact!

Find your Niche 
The sooner you find a niche, a speciality, a common thread in your work that you are known for, the easier it will be to reach out to the audience that loves what you make! You have a voice, a unique and beautiful voice. Yes, you! Don't doubt it for a second!

Join me over on my blog to get your jewelry making mojo back! I'm hosting a 12-week challenge to help inspire and encourage others to jump in and get creating. 

Wednesday, February 26, 2014

Perfect Pairings :: Claire Lockwood + LC Beads + Elukka + Gaea


Oh! To live among the roses in a red house... that would be delightful! And that is what I thought when I spied this sweet bracelet by Claire Lockwood... delightful! The way the lines on the mosaic beads look like a garden path with cobblestones... the wee house bead surrounded by the different varieties of roses. It comes together in a totally charming way!

Featured Designer :: Claire Lockwood


Featured Art Bead :: LC Beads + Elukka + Gaea


Wow! There was an explosion of happy entries in the past week making my job really tough! I am so happy to see all the lovely designs that are pouring in. There is still time to get your entry into the Flickr Pool. And on Friday, February 28th be sure to come back and see a recap that I will share of the designs and an InLinkz code to add your blog post. 


Let's see what YOU can create inspired by this pink and roses themed painting!
Join me here on Friday, February 28th for the Monthly Challenge Recap
with a picture gallery and InLinkz blog hop!

Tuesday, February 25, 2014

Tutorial Tuesday: Thinking of Summer Bracelet


Handmade ceramic beads by Mary Harding  Two hole Bead Bracelets

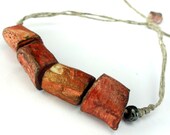
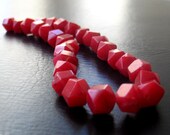
I have been thinking about Summer as a way of coping with this long, cold, snowy, icy winter.  Recently I made a number of two hole beads.  I was inspired by the many new shapes and colors of the Twin beads for seed beaders.  These twin beads have two holes and lend themselves to  many interesting design possibilities.  I got to thinking that it would be fun to make some larger size two hole beads in ceramic clay.  By chance when I first strung up a few for my Etsy shop, I used an old roll of hemp still around from my early beading Macrame days.  I thought they looked lovely, and especially summery and sigh, youthful.  The two holes show off the hemp nicely and give the bracelet an airy look.
So for today's tutorial, I have come up with a simple bracelet to string these two hole beads that I made.  Best part it puts me in mind of Summer and Beach time.  Another fun thing, these beads have designs on both sides so bead flipping is not an issue.  Also, hemp loves water and just gets more beautiful.


Two Hole Ceramic Bead  Thinking of Summer Bracelet Tutorial 

Supplies
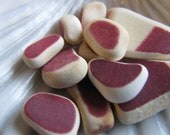
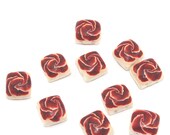
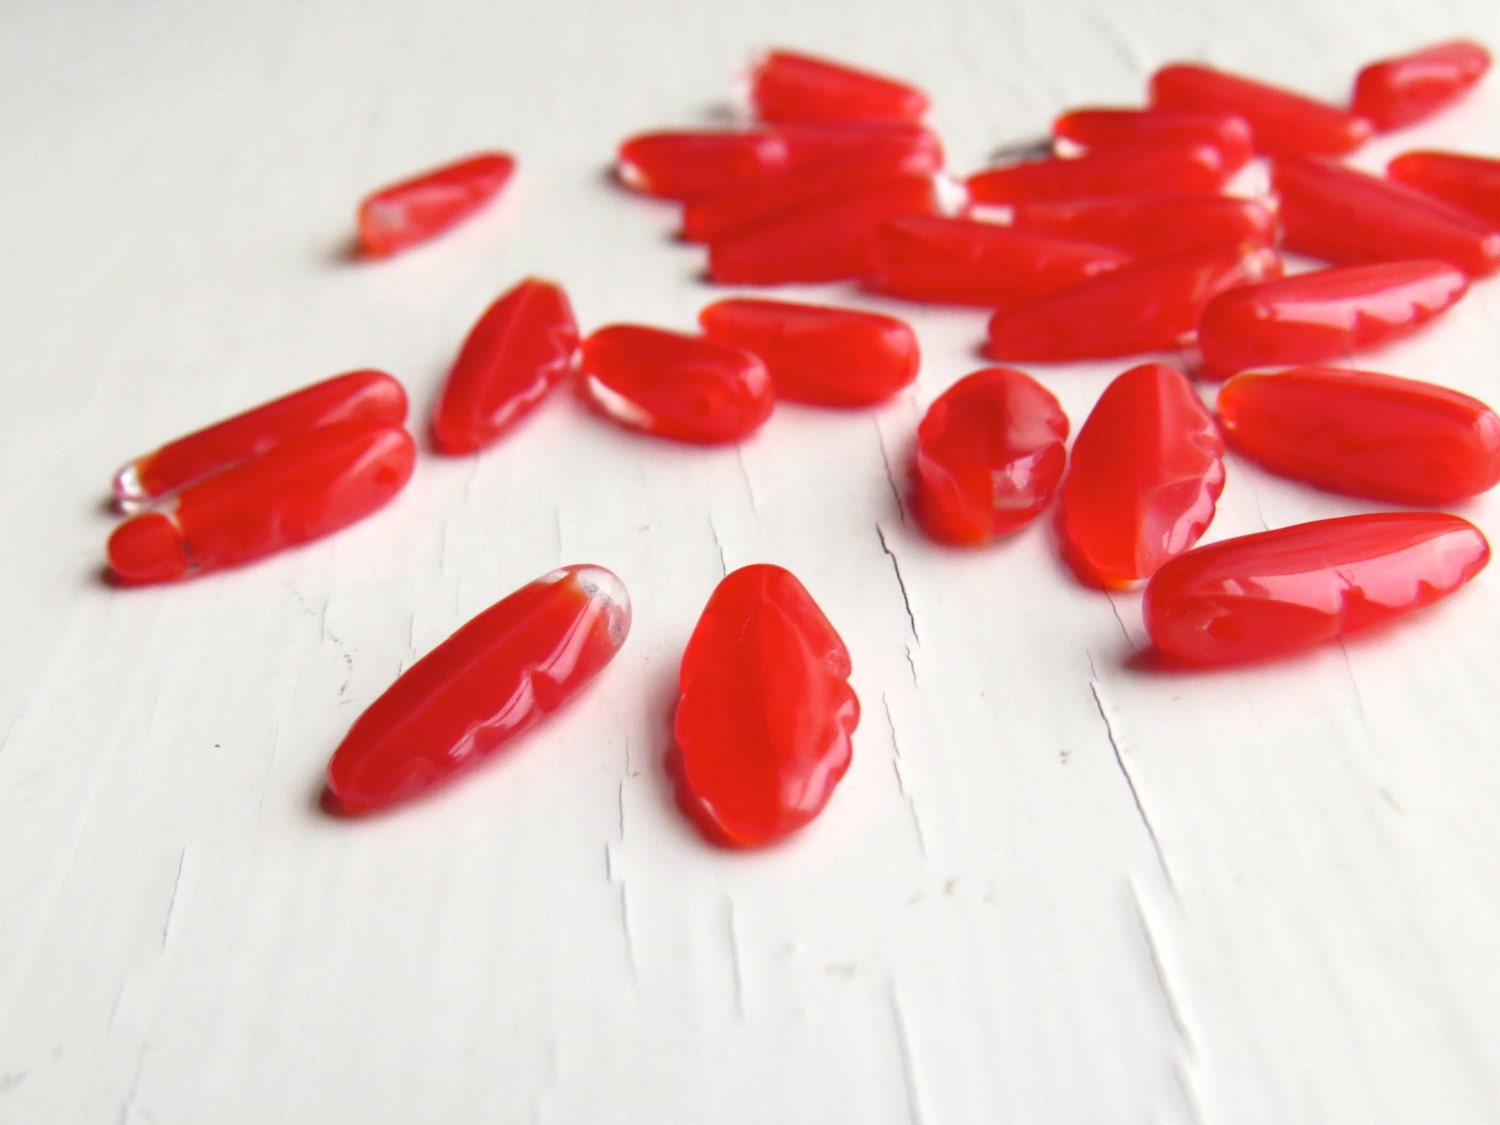
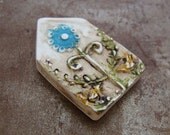
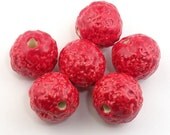
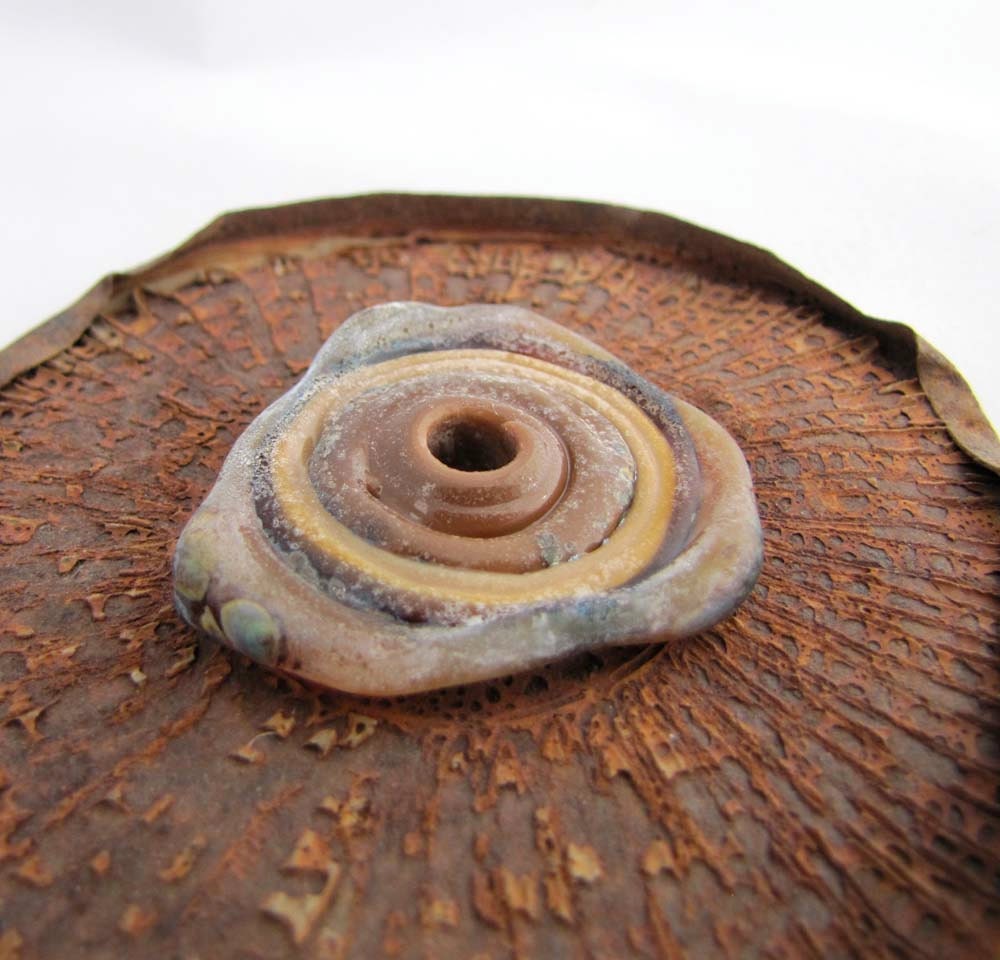
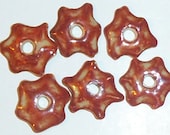
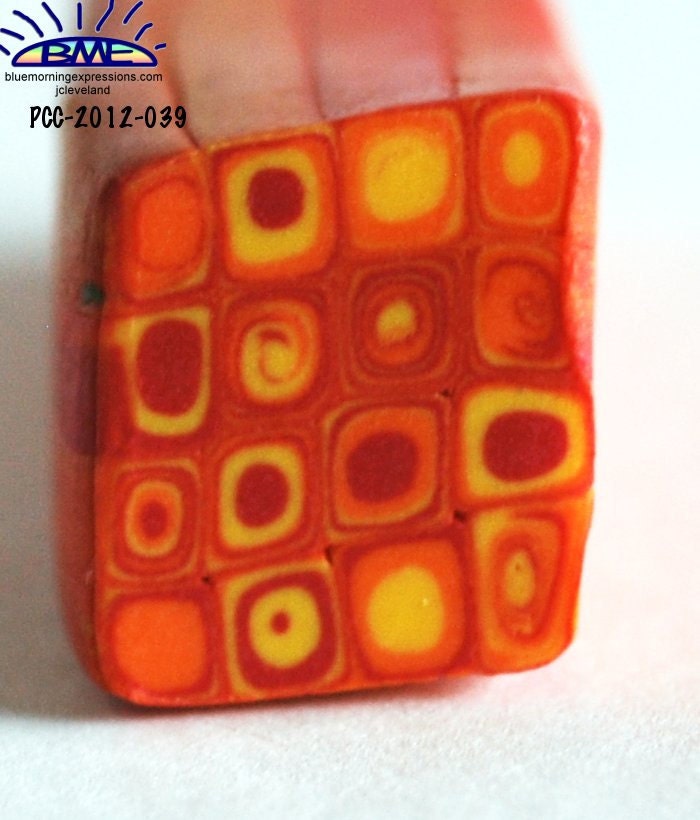
6 ceramic 2 hole Artist beads  I have used some of my handmade ceramic 2 hole beads
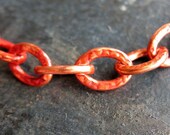
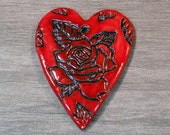
1 button  I have used one of my handmade  copper buttons  (20 gauge copper)
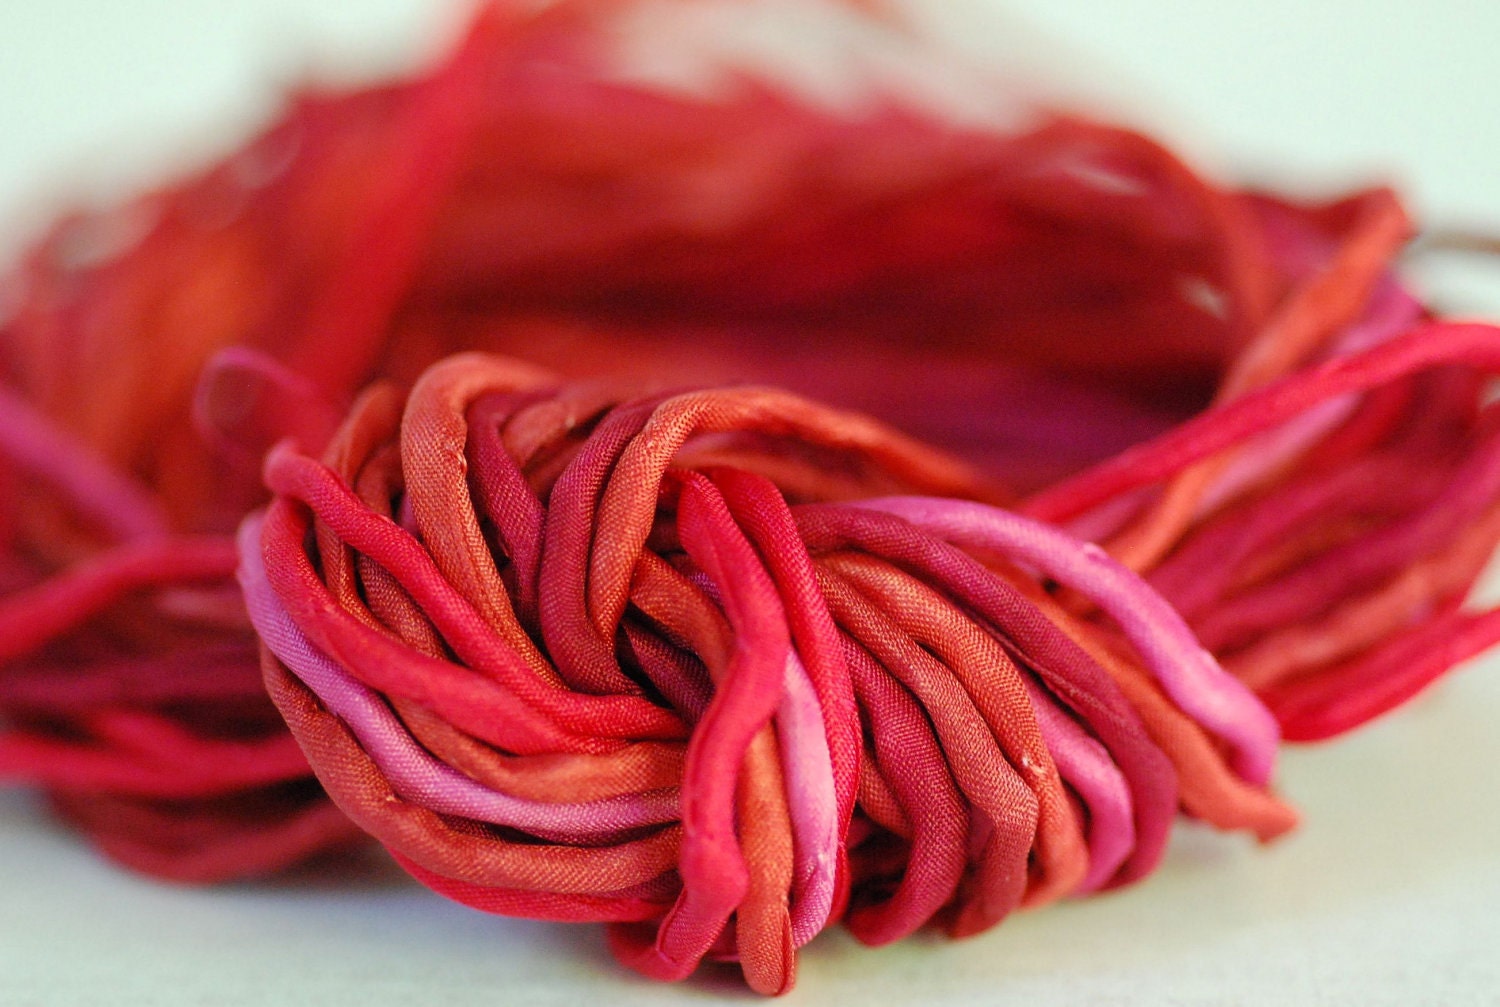
Cording  I have used hemp  but other kinds of cording would work as well.  My hemp must be about 2 mm thick,  
4 feet of cording in one piece 2 mm thick
18 inches of the same cording in a separate piece
Jeweler's glue or Clear nail polish 

Tools
An awl would be helpful in positioning your knots
Ruler

Instructions

1.  Cut a 4 Foot piece of hemp  ( this is a generous measure) and fold it in half and string on the first bead.  Pull out a loop about the size of the button you plan to use for the clasp

cording folded in half and first bead strung

2.Attach the 18 inch piece of cording to the beading cord with an overhand knot-- most of it on your right with a short 2-3 inch tail on your left. We will be using this long piece of cord to reinforce the loop to form the clasp.
cording with separate piece of cord attached with an overhand knot


3.Check to make sure your button fits in the loop--adjust if necessary


Button fit check

4.  Begin making a series of larks head button hole knots with the long end of the core, around the edge of your loop as shown in the pictures
Making the larks head knots around the button loop  (I used red leather and cord to make it clearer)

Finished loop for clasp

5.  Make a couple of last button hole larks knots around the neck of the loop and tie a square knot to secure.  Use some jeweler's cement or clear nail polish to secure the knot.  Let it dry as you make the rest of your bracelet.

                                   
Neck of the loop  add glue to last knot on top right( this is what the other side of this bead looks like)

the bottom cord is secure in the overhand knot but add a bit of glue there as well.

6. Tie an overhand knot about 1/4 to 3/8 inch from the first bead.  Tighten it by pulling on each strand of the hemp one at a time. Use an awl to help position the knot. 

knotting on the beads

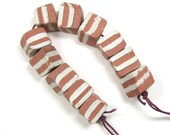
7.  Continue to add beads by knotting between them. You will get a light airier look the further apart they are. The beads will also move more if you tie them farther apart.  See example below.You can make them the about the same distance apart or vary the distance.

beads knotted for an airy look

                                   
                                               Beads knotted about 1/4 inch apart


8.  When you have knotted on the 6 beads and the length is about right including the button clasp.
string on the button.  Adjust the button so that it lies flat past the last knot.   Then tie an overhand knot to secure it.
Stringing on the button
Making sure the button lies flat and tying the final knot.

9.  Cut off the cord on the button to about 1/4 inch. 
     Check to see if the glue on your loop knots is dry.  If so, cut the cords.

11.  Put on your bracelet and think summer and beach and hope that warmer weather comes soon!


                                             Atlantic Ocean  Coast of Maine  August 2013

Thanks so much for stopping by

Posted by Mary Harding

Monday, February 24, 2014

Amuse Your Muse Monday - Bird Beads - with Rebecca of Songbead


Hello all! I'm back in Belfast, complete with reliable internet and the ability to blog when I choose! Big thanks to Heather for stepping in for me last week when technology failed me. 

Today is the last week of our bird bead theme. What's next, I hear you ask? Stringing materials! Cords, chains, fibres, wires.....I want to see it all! basic foundation of your designs. And if you find altered materials, then so much the better. Do you patina your own chain or wire? Do you dye your own ribbon? Do you spin your own fibres? We want to see! And if you have used these materials in your designs, we want to see them too! Leave your links in the comments below or post a link to FB. 

But before I get ahead of myself, let's turn back to our little bird beads, and say goodbye to them for now. I hope you've found a new bead or bead-maker or two to inspire you this month! I thought that this week, I would share some of my own personal favourites in the bead bird world, and show you how I have used them in my own designs. 

First up, Leah Curtis of Beady Eyed Bunny. I know I will have shared her beads here before because - well, because I love them! She has a rustic, folk-art feel to her work which goes perfectly with my designs. Here are some of her bird beads:


...and how I have used some similar in this earring design. (Lampwork rings from Earthshine.) If you speak to Leah nicely, she may well make you your own birds in the colour(s) of your choice.....


Owls are such popular imagery these days, they seem to fall into a category of their own! I adore working with them, and possibly my very favourite owl bead artist of all time is Kylie Parry


She is currently busy being Mummy to the very cutest little baby boy, so her shop updates are a little like gold-dust at the moment, but I believe if you ask her extra nicely and you aren't in a rush, she is still taking on the odd custom order.....

Here are a couple of my designs featuring Kylie's owls:

Twit Twoo  (branch and tag from Mamacita Beadworks)

Hoot! (sold) (lampwork ring from Earthshine)

Another ceramicist whose bird beads I love to work with is Caroline Dewison of Blueberri Beads. She makes the cutest birds in all different sizes and glazes, but beware - they don't hang around for long in her etsy shop! Again, if you smile very nicely, Caroline may well make you your very own custom birds. Here are some in a delightful spring colour combo - aren't they just gorgeous? 


And here's one of my many, many bracelets featuring one of her sweet tweets: 
Floral Nest  (word pebble from Swoondimples


And now for the BeadBlogger Links. See you next week with some artisan stringing materials! 


Rebecca is a Scottish jewellery designer, currently living in Belfast, Northern Ireland. You can read more about her and her work at her blog, songbeads.blogspot.com and see more of her jewellery at songbead.etsy.com. She also has a supplies shop at thecuriousbeadshop.etsy.com.