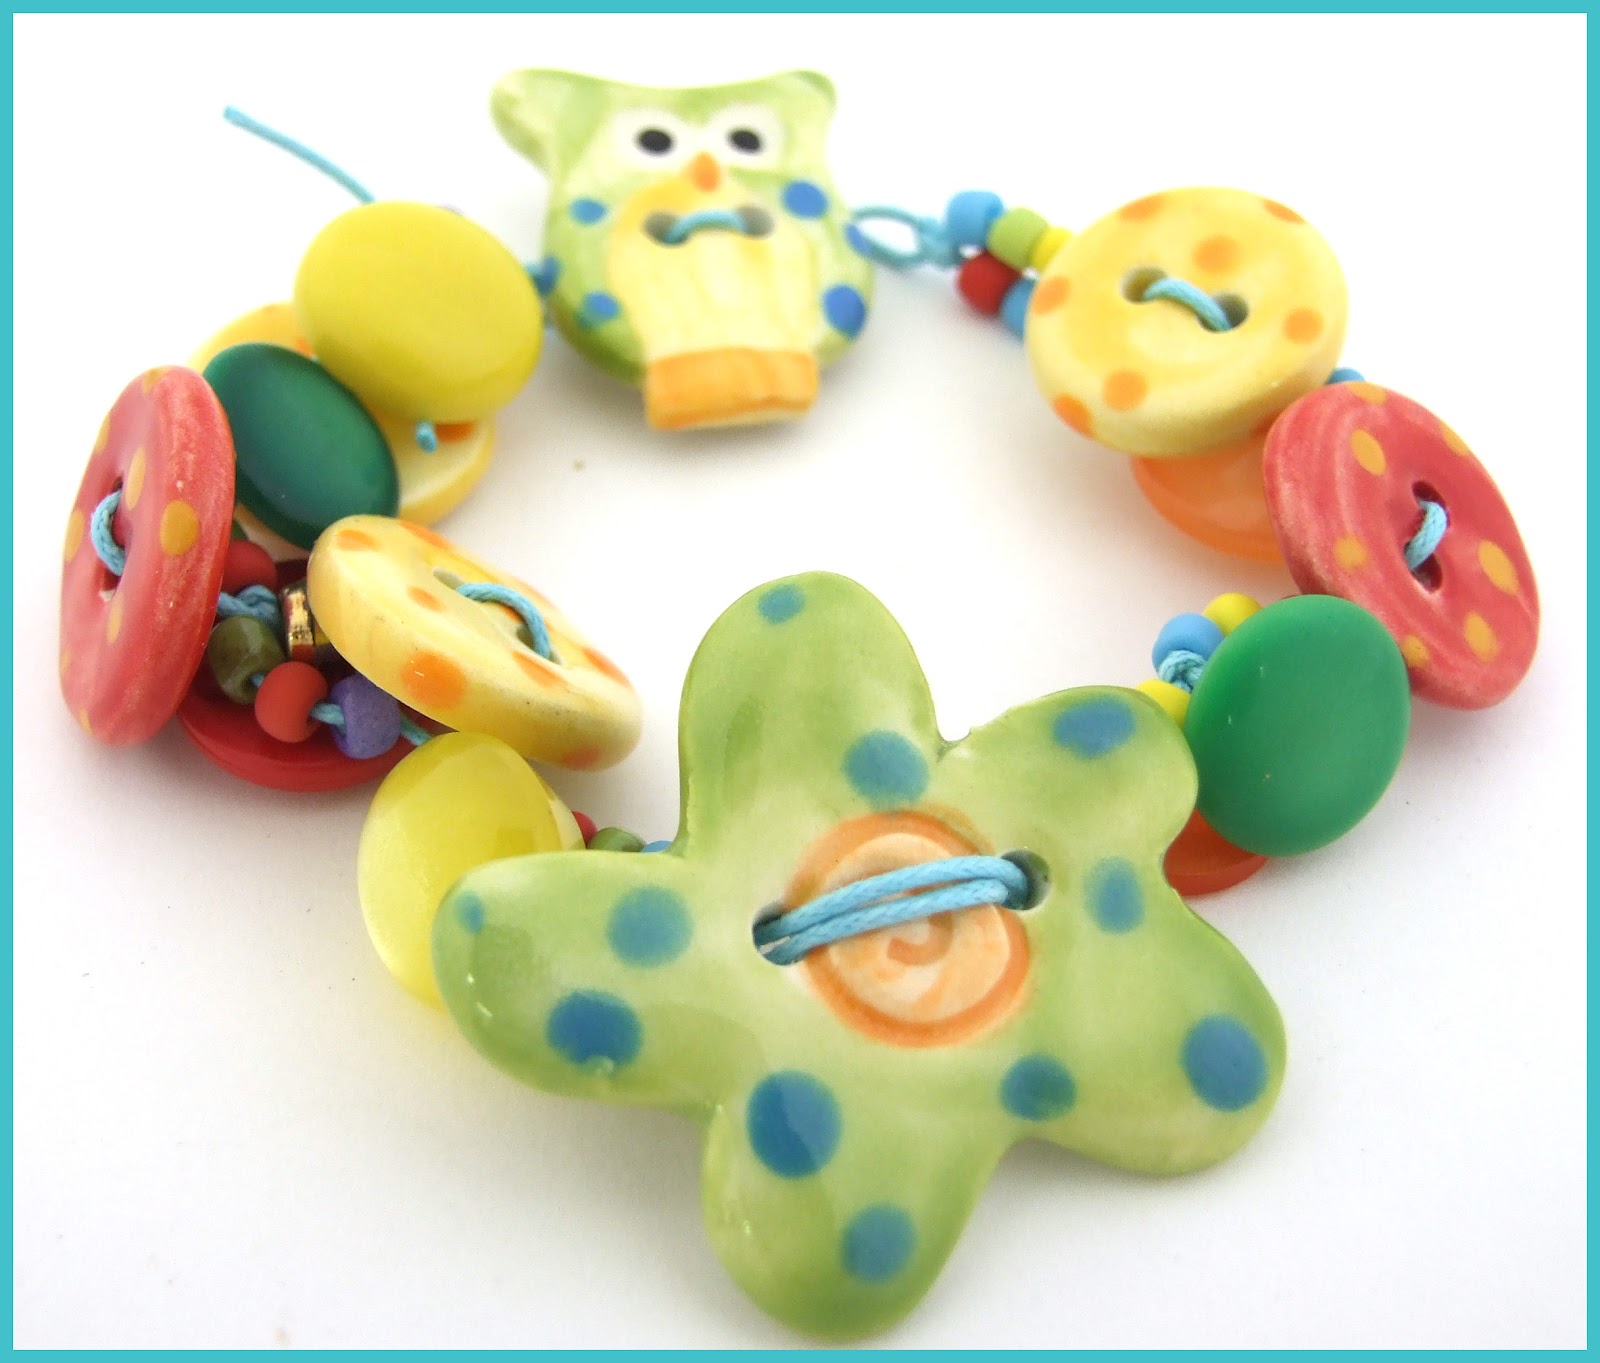
Button Bracelet
Supplies Needed:
1mm cotton cording 20" in length, 1"
ceramic owl button, 1 large
ceramic flower button, 5 assorted 3/4"
ceramic buttons, 6-8 asst. vintage buttons with shanks, approximately 30 asst color size 6 seed beads
Start by threading the cording through the button so there is an equal amount of cording on each side of the holes.
Tie a knot just behind the button holes. Approximately and inch after the button, tie a second knot. Thread a button onto one cord and tie a knot directly behind it.
Note about knots: I used whatever type of knot seemed to fit the situation, there's no right or wrong knot.
On the opposite cord of the first button, string on a ceramic button. To do this slide the cord through the back of the button and then back through the front. Tie a knot. On one cord string a few seed beads. String a vintage button on the remaining cord.
Continue stringing buttons and seed beads, making sure to tie knots in between adding items. When you are about to reach the halfway point in the bracelet, even up the stringing on the cords buy adding seed beads and then tying a knot. This time string both cords through the back of the flower, out the front, and back through to the back.
Continue stringing the bracelet as you did the first half of the bracelet until you reach the desired length. Tie the two ends together.
Tie a second knot approximately and inch further down. Before pulling the knot snug, be sure the owl button will fit through the hole.
String a bead on each cord and secure with a knot. Trim the excess cording.
Enjoy your bracelet!


2 comments:
This is so colorful and springy! Very nice.
Hard to pick a favorite, because I love every disc I have, but I think it's called Blue Willow, that came to mind when you asked for a favorite. It has mostly dark blue with graceful rusty willows, such a warm and comforting palette.
Post a Comment