A few weeks back on my
Inside the Studio I posed the following question in regards to the Bead and Button Show....
Would you rather....
...spend your money on BEADS?
OR
...invest in taking classes with MASTERS?
It seemed pretty evenly split, with many 'cheating' and choosing both! ;-)
When I first got myself together to go to the Bead and Button Show in 2008, I asked myself that same question. And I came up with the answer: take classes. I reasoned that I could always buy beads online (that is what I had been doing up to that point, but little did I know what treasures were awaiting me!), plus the time factor (it always falls the last week of school), and I also knew that I am not one to follow directions in a tutorial or book. The opportunity to meet an instructor and artist that I admired was just too great a pull.
My very first class there was with
Susan Lenart Kazmer. Talk about an incredible way to kickstart my love of learning! She was kind and gracious, gentle with her criticisms and lavish with her enthusiasm. Ever other class has been compared to that very first one, some rising right to the top with Miss Susan, and some falling short, but all with something to teach me.
It was with a certain amount of trepidation that I was scheduled to co-teach a class for a necklace with
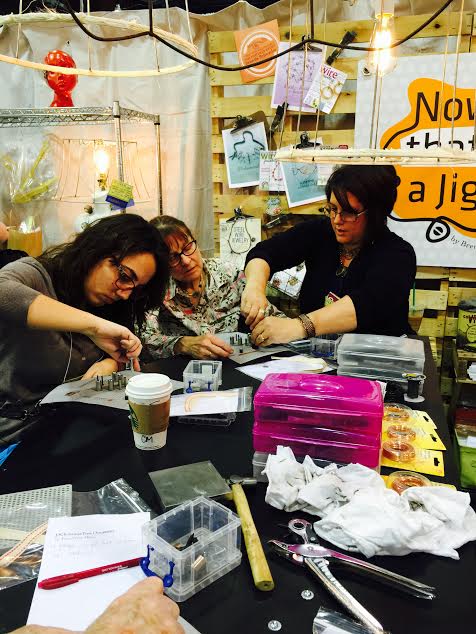
Brenda Schweder on the Now That's a Jig! tool. Unfortunately, that class was cancelled due to no enrollment. That was a disappointment. But I did get to teach with the NTaJ! tool in Brenda's booth on Saturday. I taught my
O Christmas Tree ornament to 16 lovely students in a make-and-take. I even have my design as a template on velum for the jig with my name on it. I have to say it was a pretty cool moment to see that!
The good thing that came out of being listed as an instructor was that I got to register for my classes a whole month early. That was too great a temptation to ignore, specifically because last year I didn't take one class. I really felt the absence of learning in 2014. I was envious of every single person that took classes. I knew that I had to find a way to take something this year.
Because I got to register to early, I knew that I should try for a class with a Master. Usually these classes fill up fast! So this was my chance to learn from
Thomas Mann. If you don't know who he is, you must live under a rock, because he is world-renowned and a highly sought-after instructor. He is an innovative designer with a style he refers to as "techno-romantic."
I signed up for his
Containers To Wear course. This is a concept that he has pioneered and it really is quite brilliant. He has engineered a sort of shadow-box container that is chemically etched in an industrial process that makes a sort of 'punch out' template of the three pieces needed to construct this magical box.

While it looks like a simple put-tab-A-into-slot-B sort of thing, it really is much more complex than that. The entire construction took me most of the day to get it right (it took a long time, and a tiny wood baseball bat - how clever is that? - to get the perfect round shape so everything would line up perfectly), and while I had enough to make a second one (and some of the others actually did), I knew that I wanted to wait until I had a plan for it. Maybe I will never complete it, but that would be okay too. You might be asking... could I just make it from the kit he sells on his site? Maybe, but it was pretty involved and there was nothing better than having the inventor working along side you!

Did I mention that there were only four of us in the class? I was so surprised it wasn't full! So it was like getting a one-on-one with the Master himself! We listened to his Pandora music station, we shared some of his bits and pieces, he even offered me a snack at lunch time. He is a true artist and a master of the craft. It was a thrill to be sharing this space with him.
The back and sides were textured using a
flex shaft to resemble tree bark. I have wanted one of those since my very first class in 2006 with
Kay Raschka. And guess what? I now own of of Thomas Mann's flex shaft stations! I am working on re-organizing my studio so I can actually set it up to use it. (Hold me to it, okay?)
I could have put anything in there - cogs and gears, pictures, game pieces, words, found objects - but in the end I decided to make mine a nature inspired peephole, as if spying on a
little bit of the natural world. I used my favorite special little speckled
egg-shaped bead and fashioned a little steel nest for it. I had these
two amazing little feathers that I found a long time ago. Time to stop hoarding them! I
even went outside and found a tiny branch to add to the box. I 'frosted'
the edges of the plexiglas cover with a very fancy file that one
very generous participant let me use.

In the end I made something that was all me... a tiny nature treasure box hand-etched with a tree bark pattern, featuring a tiny wire nest with one of my special matte marble-ish egg beads (I simply cannot find any more of these! If you recognize and can tell me a source, I would be eternally grateful!), a tiny twig and two tiny precious feathers under a plexiglas window pane. I even carved my initials in the back of the 'tree' pattern. The only regret that I have is that I listened to Thomas when he insisted that I put the pin back on, even when I said I would never wear it that way. I should have listened to my gut, as it doesn't lay flat and is a bit pokey. I think I can still get it off without any trouble, as it is all cold-connected. But this piece is more of a treasured artwork and something that might grace my studio space as a reminder of the experience. It will always be in a place of honor.
Fun Fact: When I was hammering a little piece of wire near the end of the day
so that I could fashion a quick hook to wear my container out of the
class, he hopped right up hurried over to me. With an impish grin he
took the hammer from my hands and smiled over his glasses, like any good
wizard would do, and told me that I was doing it wrong. Simply from the
sound of my blows, it was clear I was holding my hammer wrong! Now I
could have been embarrassed or even offended, but in three hits he was able to accomplish
what I was feverishly doing, and not very well. Lesson learned! [In case you want to
know, I was holding the bulb of the chasing hammer, as I have instructed
countless students to do, but was unconsciously turning my wrist and
bracing the top of the hammer with my index finger. Nah-uh. I knew
it was wrong, yet I didn't even know I was doing that! That bit of info
right there, my friends, was worth the price of admission!]

I had about an hour before I had to be at my next class with the oh-so-talented
Eva Sherman. I had a chance meeting with Miss Eva in December when I was filming an episode for Beads, Baubles and Jewels (that I believe is coming up next month! Oh, and if you want to see an earlier episode that I was in that aired last fall, here is the link:
http://www.beadsbaublesandjewels.com/ - just scroll down and you can view it until June 19th!) I knew I had to take a class with her after spending a delightful evening having dinner.


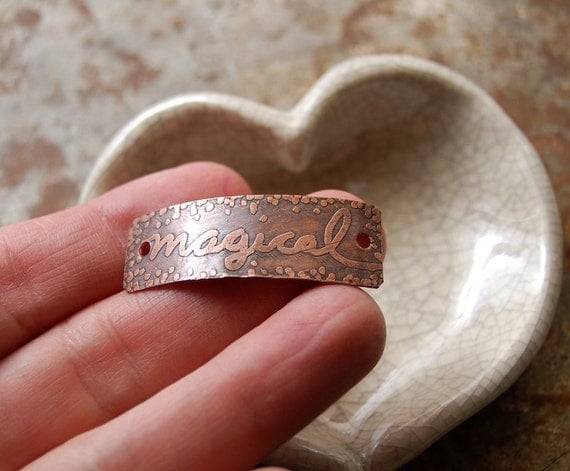
Miss Eva has a book coming out sometime later this year from Kalmbach called Cool Copper Cuffs, which was coincidentally the name of the class that I took. Can't wait for that! I love that every single tool that we needed - right down to the hammers - was provided by her for the class. That made it really easy to just breeze on in and not worry if I brought the right thing, or have to borrow it from someone. It was great to test out tools that I might not be able to afford to see if I want to get them. In fact, I went out and bought an oval steel bracelet mandrel inspired by this class!

We hammered and heated, annealed and textured, corrugated and patinated. Fun stuff! This allowed us to create two distinctly different cuff bracelets in just about 3 hours! We used the 'poor man's rolling mill' (aka, Sizzix Big Kick) to emboss some patterns on dead soft metal. We learned that we can anneal as many times as you like for limitless possibilities. I wove metal, made a ripple, added an eyelet effect (I just had to be different!) and used a really cool tool called a Microfold Brake. (Adding that to my tool-drool list!)
Hey, look! As I was cruising through the lobby, I spotted the Bead Dreams competition and my friend StaciLouise Smith's amazing polymer clay creations that took 2nd and 3rd (truly I didn't even notice what was 1st.. I just know it couldn't be any more amazing than these two!). So cool!
On Sunday I got up a bit earlier to take a class with
Andrew Thornton and Cynthia Thornton. Cynthia is known for her whimsical
Green Girl Studios world and Andrew is just.... so very cool. Both are completely fine artists, so it was a no-brainer to take a class with them. I knew that whatever we did would have a magical quality and I was not disappointed. It was a treat to actually bump into them right after I got done with the Thomas Mann class - I just find them delightful!
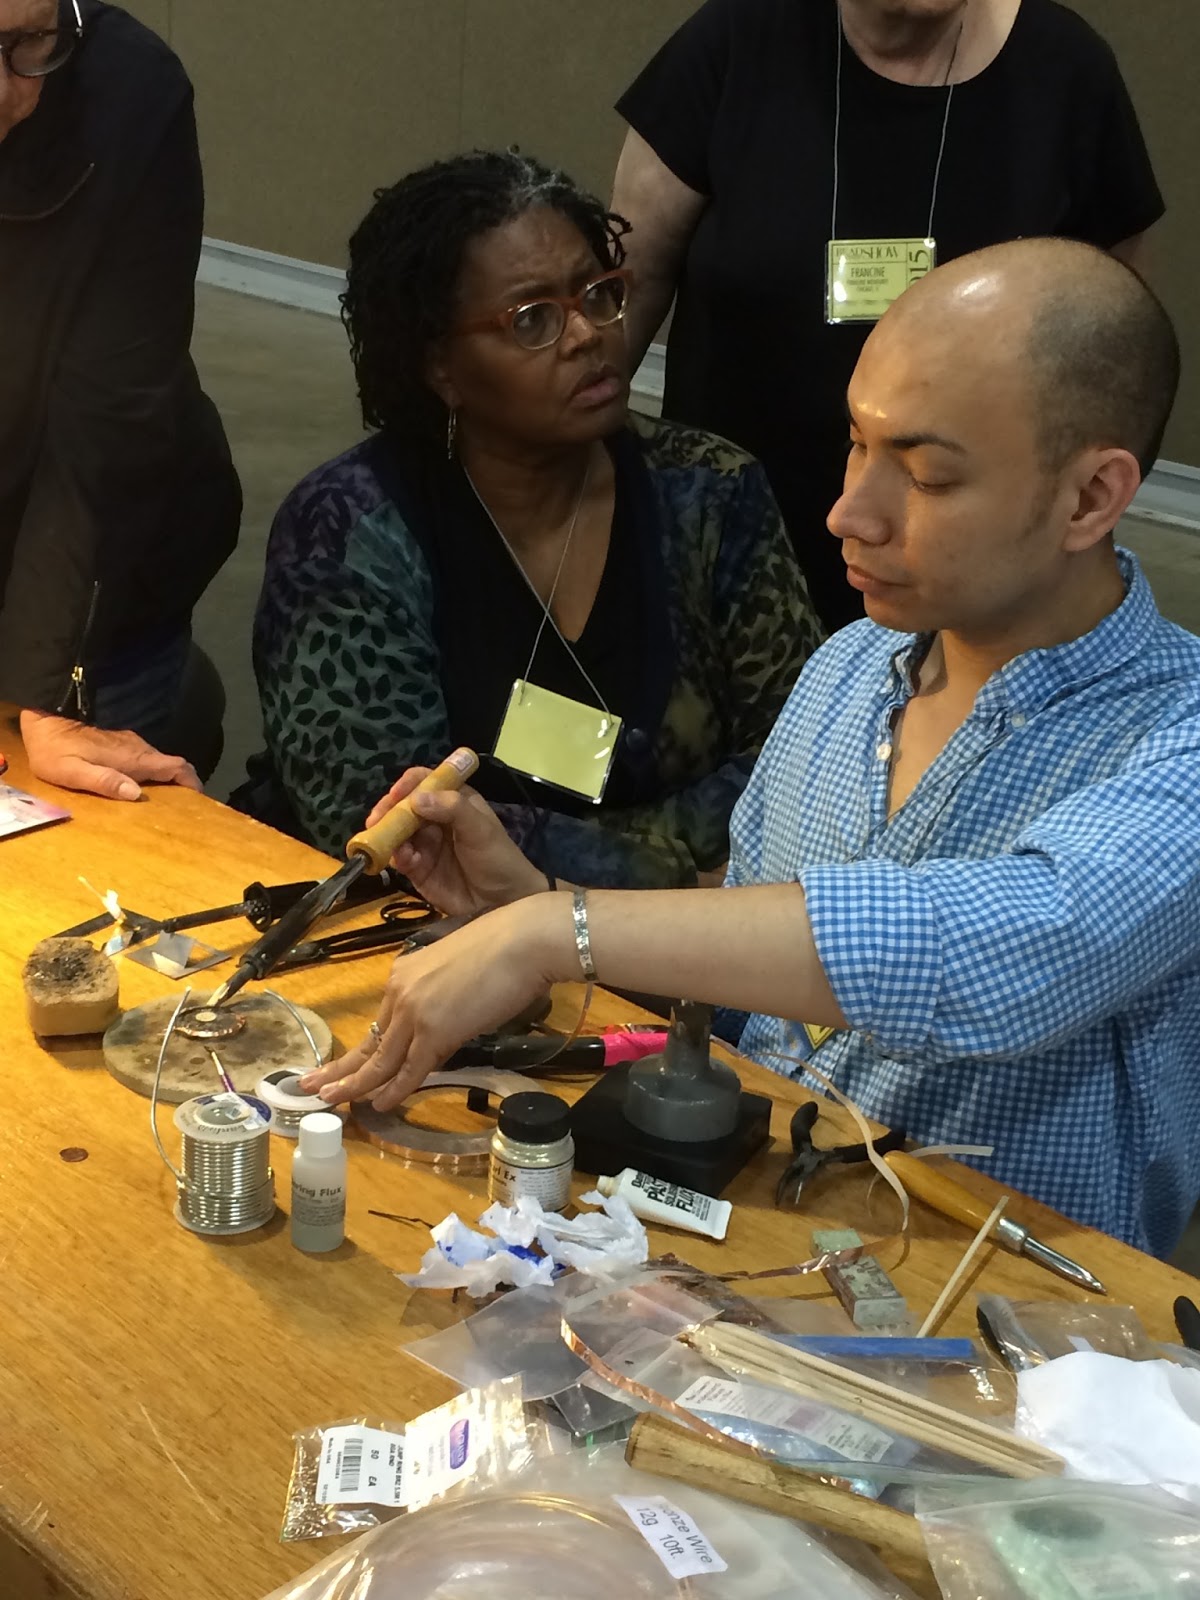
This class was called Modern Alchemy: Jeweled Windows. We used soldering irons to make these fantastic bubbles out of painted glass to hold the tiniest of items. It made me want to go out and get a soldering iron again to replace the one I threw out years ago. (More tool-drool!)
This was a very cool class with a lot of room for your own personality to come through. I loved that these two wonderful people were teaching it together. I felt like I was getting double my money's worth! They have such an ease about them, and a very genuine interest in every single person. Such generous souls they are! On more than one occasion, either Andrew or Cynthia asked me if my heart was full. What a nice thought! Yes. This class was everything I thought it would be.
We used glass paint to create texture on these glass to create a transparent pocket to hold whatever you want - a picture, sand and seashells, or tiny glass beads for a shimmering suncatcher effect. This project has a lot of potential for fun expression.
Of course, I did buy beads. But it as more a year of tools and techniques for me. I picked up a bunch of great tools to add to my working studio space, some that have me rethinking things that I do, and have added more to my tool-drool list that I can hopefully afford sooner rather than later (and find more room to house them!).
What it comes down to for me with classes is that I would rather pick my classes based on who the teachers are, rather than to learn a technique or finish a project. I choose based on who I would like to spend time with, to bask in their glow and soak up the experience. This year was a banner year for me in that I learned so much, I plan to use quite a lot of it, and I got to experience these amazing artists up close and personal. And now I know that if I ever get the chance to actually teach in a venue like this (that would be awesome!) I have some great role models to look up to!
If you take classes, are you more interested in the techniques, the tools, the finished product or the instructors?