

Hello Art Bead Scene friends! Happy 2015!
It's Tutorial Tuesday and I'm kicking off the new year with a layered, cuff-like bracelet design.
This design is fun and fabulous for using up short pieces of chain you might have hanging around in your stash.
I chose to use sterling silver and silver filled components in my design but it works well with any choice of metals.

Materials:
size 8 Miyuki glass seed beads - I used my own custom mix in blues
18 - 25 4 mm Lapis rounds
28 - 35 4 mm Czech glass beads - navy blue
5 - 10 6 mm Czech glass beads - white
3 lengths of sterling silver chain
Variety of sterling silver beads
1- 2x2 big hole bead
1- 2x4 big hole bead
2- 2x2 textured crimp beads
1 big hole bali bead
5 bali spacer beads
3 - 7 4 mm sterling rounds
1 pair of 3 to 1 connector
1 embossed tree of life toggle clasp
9 - 6 mm jump rings
Determine the length of your finished bracelet. Subtract 1.25 in. to account for the toggle clasp and the 3 to 1 connectors. The result is the length of strung beads and/or chain needed in each layer.
Each layer will consist of one section of strung beads and one section of chain connected to a jump ring.

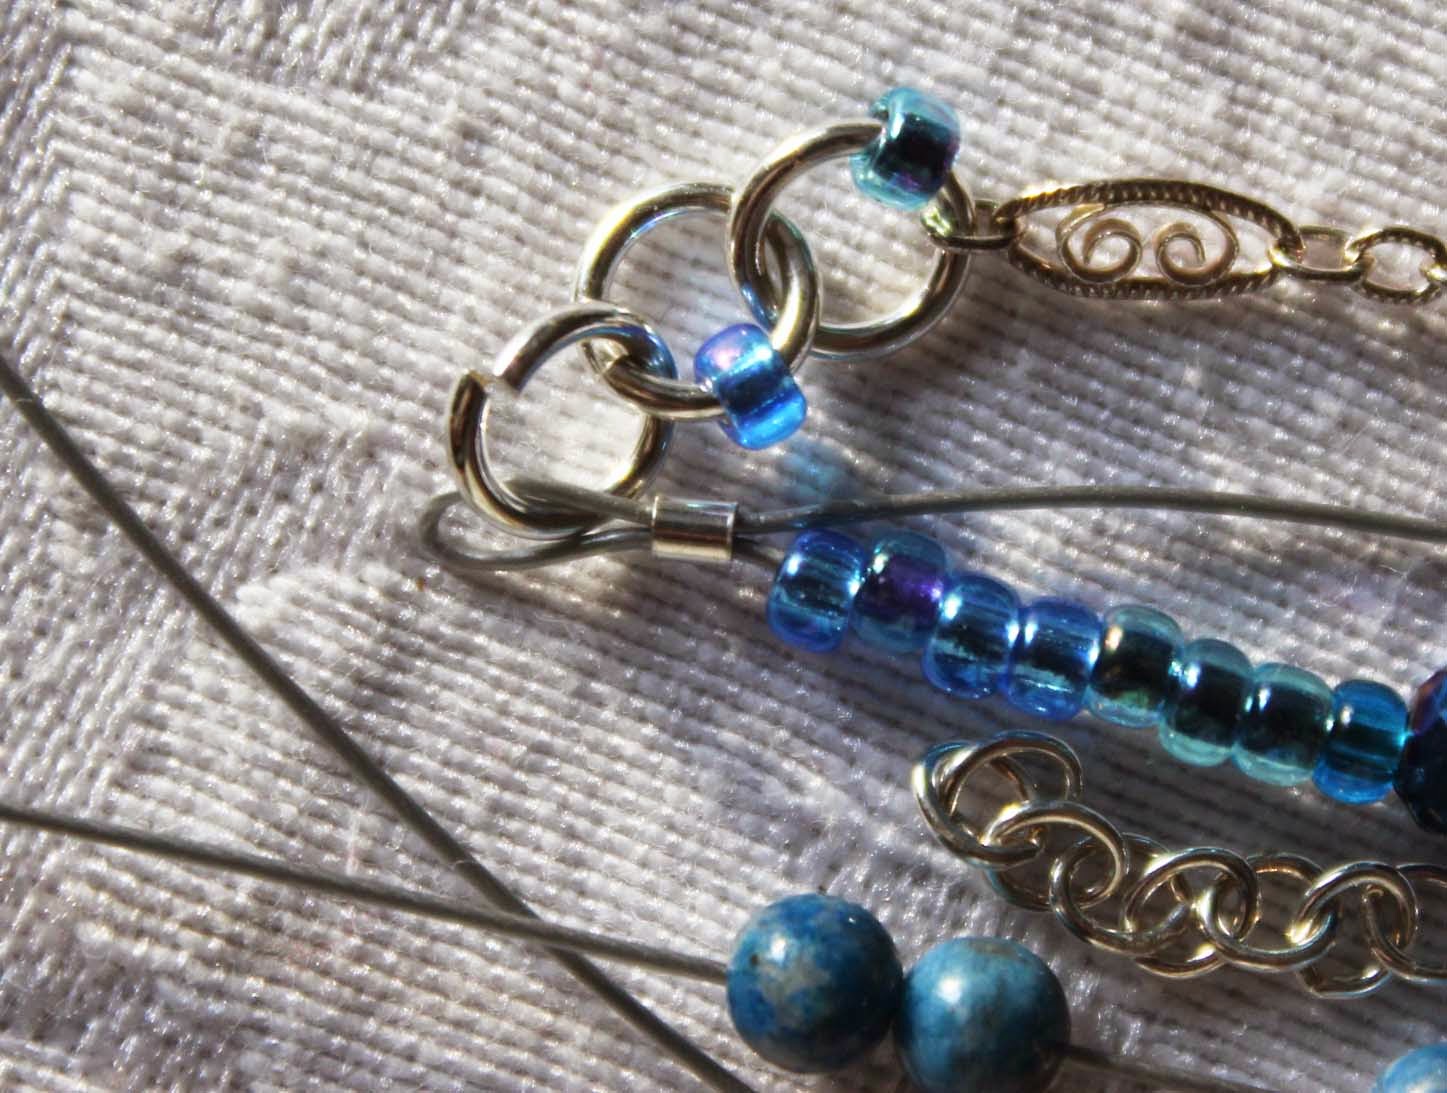
Begin the design by adding one length of chain and one length of stringing wire to a jump ring.

The first length of strung beads will consist of mostly seed beads with a couple of different design elements for interest.
String on 9 seed beads, 1- 6 mm czech glass bead (to be used a stop bead), 13 seed beads, add one sterling large hole bead over the seed beads, 1-6 mm czech glass bead (to be used as a stop bead).

The large hole sterling bead will float freely over the seed beads, between the czech beads for interest and movement in the piece.

Add 12 seed beads, 1-4 mm czech glass, 1 sterling spacer, repeat pattern ending with a czech glass bead. Continue stringing seed beads until desired length is reached. I added another czech glass in amongst the seed beads.
Attach the end of the strung beads to a jumpring using a crimp tube and snug up the string. I recommend leaving the crimp bead in an uncrimped state until you've completed all your layers.

Once the first section is complete layout your design ideas to get an idea of the direction of the piece. When I'm creating a layered piece I aim for variety and an overall balance in placement of the beads.

To begin the second layer attach a chain and a stringing wire to a jump ring (as in step 1 above).

String on 12 round lapis beads, 1- 6 mm czech glass ( to be used as a stop bead), 16 seed beads, 1- 6 mm czech glass (to be used as a stop bead), 6 round lapis beads to complete the stringing.
Roughly finish the end of the stringing wire with a crimp bead (as stated in the first layer) and attach this section and a chain to a jump ring.

For the third and final layer in this bracelet we'll begin in the same manner as in step 1 above by attaching the stringing wire and chain to a jump ring.
String on 3 czech glass, 1 sterling tube bead, 1 sterling bali bead, 1 tube bead, 1-4 mm czech glass, 1-6 mm czech glass, 1- 4 mm czech glass, a sterling round, repeat this pattern two more times, 14 - 4 mm czech glass beads, 3 sterling spacer beads and finish to desired length with the czech glass beads.

Finish the end in the same manner as the previous layers by loosely securing the ends.

I'm taking one final look at the overall design. I decided I was happy and went ahead and finished each section by crimping the ends and trimming the stringing wires.
I found a couple of my chain lengths were a bit shorter than I needed them to be. I solved this by adding a jump ring (or two) with a seed bead for fun.
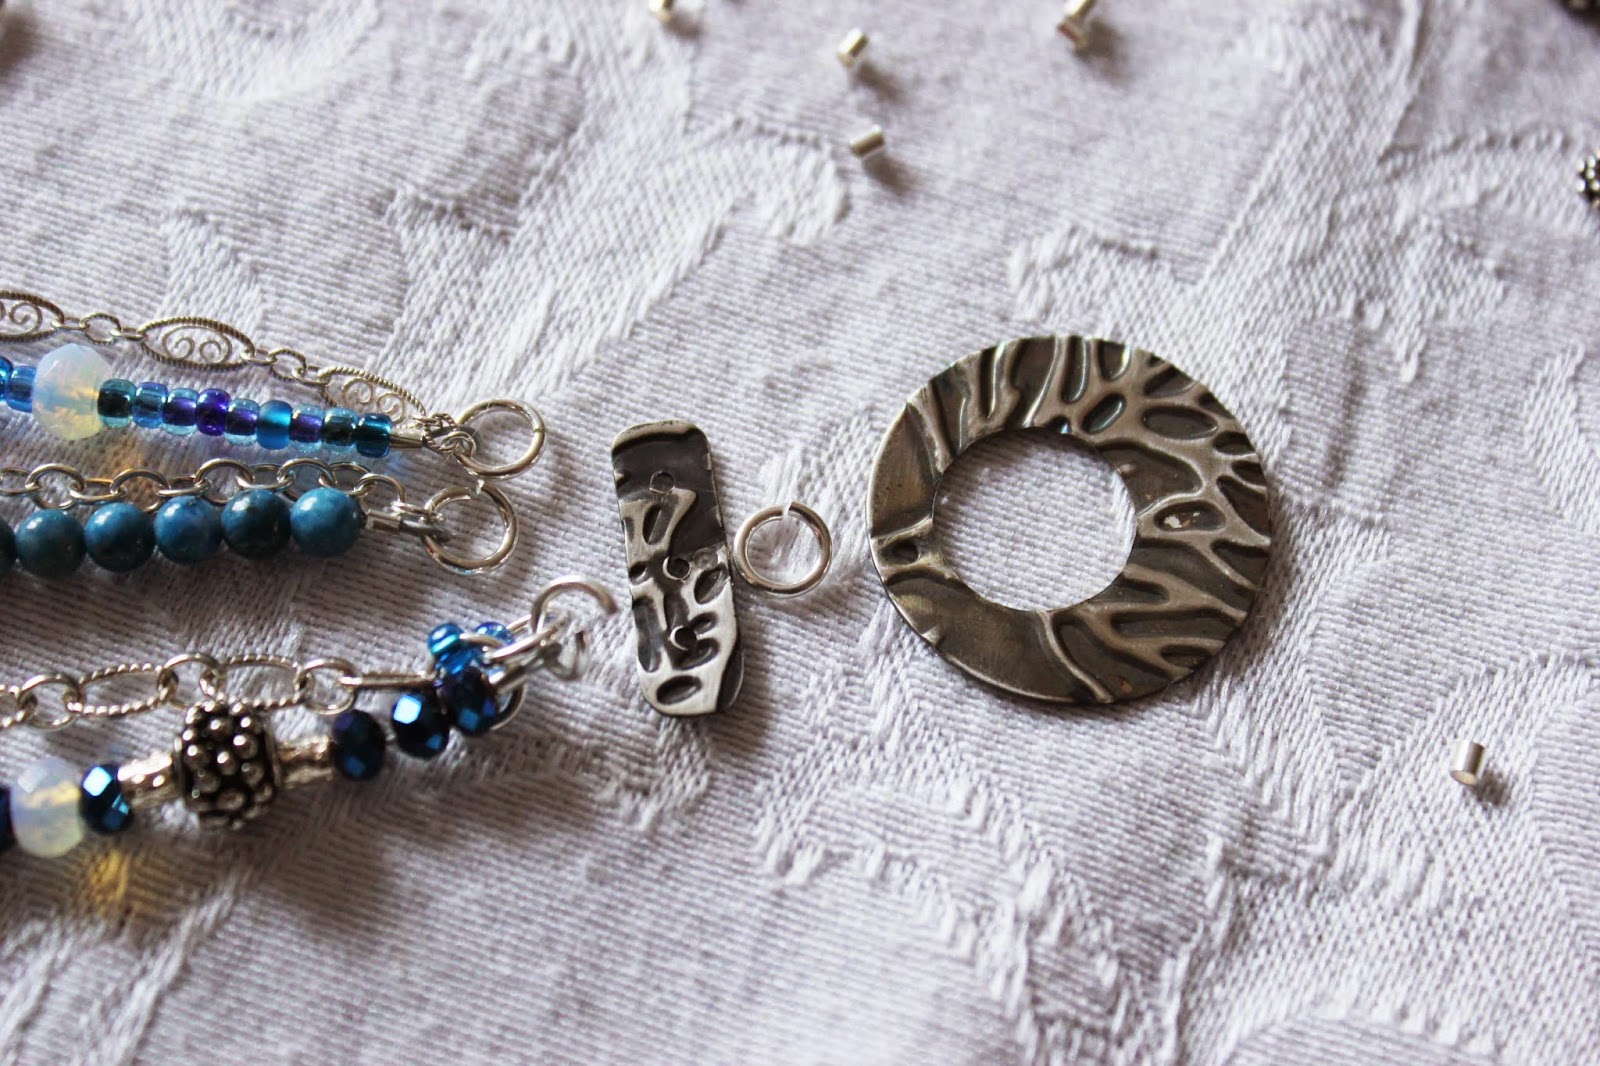
Add each layer to the 3 to 1 connector by opening the jump ring, attaching to the connector and closing the jump ring. Do this for both ends of the bracelet and attach the clasp.

Your bracelet is finished!

I don't even mind if my bracelet flips around. This way I get to show off the tree of life clasp. This design has so many possibilites. I've included materials and instructions for a bracelet which fits my (crazy, small) wrist. You may have to add design elements to create a larger bracelet but it's easy to do. Add a bead here, throw in some beads there and you've got it done.

I created a second bracelet using the same basic design with a slight difference. I used 5 to 1 connectors and I had a couple very small lengths of chain that I connected by adding a section of wire wrapped beads to the middle of the chain.
Enjoy!

Ema Kilroy is a lampworker and metalsmith living and working in Central Massachusetts.
4 comments:
Ema,
What an ingenious artist you are: using up short pieces of chain; extending chain with great creativity; adding movement with the floating bead.
This is a wonderful design.
Your post is a wonderful learning experience.
Great tutorial! Both versions are lovely! Thanks for sharing!
Thank you so much Susan! I'm glad you enjoyed the tutorial.
Thanks Terri.
Post a Comment