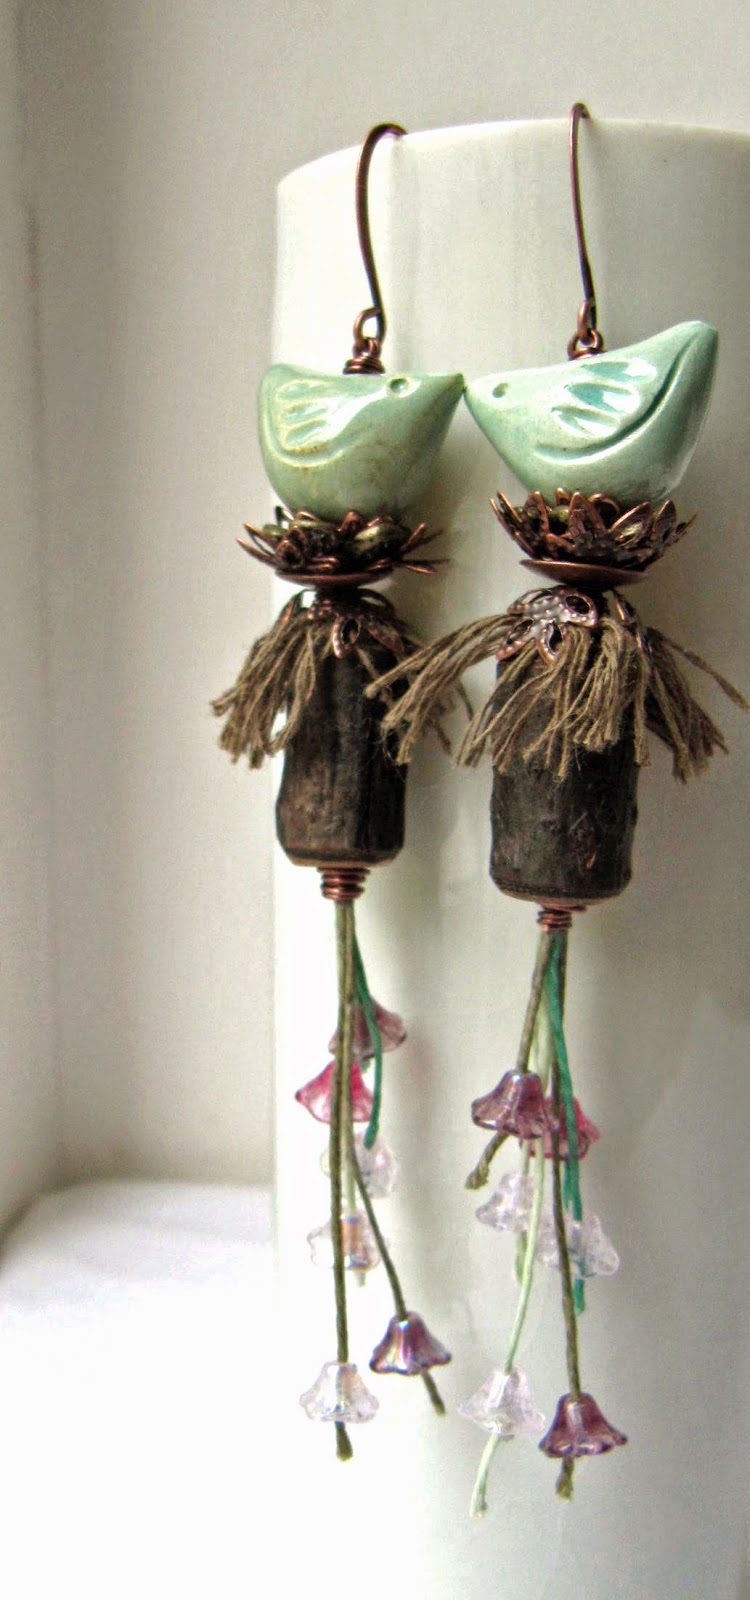
The ceramic birds that I've used are from Blueberribeads, as you may well know. The wooden barrels are from Pyamtuning Crafts. Aside from your art beads, you'll need: three 20cm lengths of 4ply waxed linen in shades of green (I've used mint, sage and olive); four 4cm lengths of 1mm hemp, in khaki or something similarly neutral; a range of bead caps - around 5-6 for each earring; 12 mini czech glass bellflowers; 24 gauge antique copper wire; and, of course, a pair of ear wires.
To start, lay out your cords, with the short lengths of hemp at the centre point of the linen cords. Then take a generous length of your wire and bind them all, at the centre. Making a wrapped loop and wind the tail from your loop slightly down over the top of your cords where they have been folded.
Next, string all your linen cords through the wooden barrel, leaving the short hemp lengths splayed out at the top. Take another piece of wire - around 8cm should do - and wrap it round the linen below the barrel to secure it in place. Then, start to fray your hemp cord so you get a 'mop' of single strands. Once you've unravelled all your hemp, select a bead cap that will sit tightly over the top of the hemp. You want something that will push your hemp so it falls downwards over the barrel. The cap I've used can be folded in to keep the hemp in place.
Start adding the rest of your bead caps, with the cup of the cap facing upwards, to form a nest. Then, add your bird. I've sat a little spacer in the top of the hole in the bird as it is fairly large and the wire is rather fine. You may be tempted to use a thicker wire to give more rigidity but I found that 22 gauge wire was not flexible enough to grip the cords as tightly as is need. As the wire is quite fine, I've made a double wrapped loop above the bird to finish the top of the earring. Next, turn your attention back to the hemp.
I've trimmed the ends of mine so that the lower half of the wooden barrel can be seen; it also gives a bit of a neater look. Next, attach your ear wire. The final step is to add your glass flowers. Thread one onto each of your linen cords and secure with a knot, fixing them at different positions on the cords. Finish by trimming your cords just below each knot. Then, you just need to make your second earring.
Bye for now, Claire
www.somethingtodowithyourhands.com
www.somethingtodo.etsy.com
www.somethingtodobeads.etsy.com


11 comments:
They're adorable!! I love them!! Thanks for the tutorial.
Claire, these are adorable!! Love the little nest you made for the birdies :)
Delightful earrings Claire!!Love the way you made the bird's nest with several bead caps. These will be fun to make!!
And you are right, Spring is no where in sight especially here on the east coast of New England!!
How cute!!! I love the little bird and the wood beads.
Fabulos earrings, thanks for sharing.
Very creative and cute!
Totally adorable!
So cute! Looks like a little art doll. :)
Great Tutorial! Thanks for the inspiration, I just have to say... these are super tweet!
What a fabulous creation! Great use of materials.
These are seriously cute Claire. Great job showing spring.
Post a Comment