
Each week one of our contributors gives you a sneak peek into their studio, creative process or inspirations. We ask a related question of our readers and hope you'll leave comments! As an incentive, we offer a prize each week to encourage you to use that keyboard and tell us what you think. The following week a winner is chosen at random from all eligible entries. And here are the results from last week!
This week's winner is Lynda of Fresh Baked Designs. Congratulations! You have won a $25 gift certificate for Swoondimples! Please contact Heather to claim your prize!
********
Is it a little late to be wishing you all a happy new year? I hope you're all contending with the potential gloominess of January. I last shared an Inside the Studio post with you back in early November. Perhaps you'll remember: I have recently taken up metalwork and I had plans of converting my under-the-stairs cupboard - aka the naughty hole - into a little work space. There was a problem, however. Five years of accumulated junk and mess.

Well, it certainly seemed like a mammoth task. I was shocked just now, revisiting these pictures. A chance turn of events lead to me actually taking it on. I was telling a friend about my plans, a friend who actively likes sorting and tidying (I know?!), and she said, 'Right, we're going to do it'. I can't thank her enough. It took two long afternoons-into-evenings-into-the-small-hours to sort it all, and it was pretty tough going and stressful at points: so many things to have to decide to throw away; so many, sometimes painful, memories unearthed. (Some of the stuff at the back had been dumped in there when I moved into the flat and that wasn't the best time of my life.) But we did it! Can you see the little pixie door? Where the metal working pixies live?

Open wide and what's inside....

I hope you'll agree, it's a pretty remarkable transformation! This is going to be the tidiest it will ever look, I reckon! I'm so chuffed; I've only just got to the point where I've stopped going in and turning on the light and just thinking, 'Eeeeeeeeeee!' One thing I hadn't remembered was that the naughty hole was actually an airing cupboard.

My first thought on seeing this beast (which actually serves all the flats in the damn building) was: 'Oh, thank goodness! That's several square foot of stuff I'm not going to have to drag out of here and and re-locate!' Once this relief had worn off I was a bit disappointed that it was lurking in there taking up precious space. Still, I reckon I'll live with it well enough.
So, it's now time to pick up the torch/saw/file/hammer, etc. My classes started again last night. I'm making bezels for stones. I was working on my first one again this morning. I got to the stage where I had it looking all neatly trimmed and thought, 'Oooo, look, that looks like what it should look like! Will the stone fit nicely? Yes, it fits very nicely!' Hot on the heels of that thought came, 'Oooooo, look, is it? Yes, look, it is... it's.... stuck...'. I've tried finding something thin enough to lever it out, but nothing is thin enough. I've tried running water into it. I've tried tapping it on the back. I've tried tapping it on the back with a hammer. I've tried holding it in a pair of tweezers and hitting it on the back with a hammer. I've tried holding it in a pair of tweezers and hitting it on the back even harder with a heavier hammer. No joy. It's only a small, inexpensive, piece of moss agate but if anyone has any suggestions, do share!
I would have got going on the metalwork earlier in the month but there was other stuff to do in the studio, like glazing a big batch of beads.

I'll be listing all of these in the bead shop some time at the start of February - just in time for pay day! I also had a heap of beady makes planned that I wanted to make real. It ended up being quite a make-athon. Here's a small selection.

Art beads by Stillpointworks and Something to do Beads


Art beads by Something to do Beads

Art beads by 4 Ophelia and Lucy Haslam
These and many more can be found in my jewellery shop.
So, it's time for this week's giveaway! The prize will be - again! - a

There are two questions this week. First, the general one: What are your big - or not so big! - plans for your work in 2016? Do you want to learn a new skill, like me? Are you hoping to get your work out there in the world, in some galleries or shops? Perhaps you've been meaning to set up an online shop but have kept putting it off? Is now the time? Or maybe you just want to make a dent in your art bead collection and incorporate some of them in some great new designs? Will this be the year you finally make something with that awesome piece of treasure you've been hoarding?
And a second question: do you have a trick or tip that might help me free my cabochon from its bezel? (See above!) If anyone comes up with a suggestion that actually works, they'll receive a little beady parcel too!
21 comments:
I really want to get my Etsy shop up and running properly this year! And to get a few more metal working skills under my belt too :)
Love seeing the transformation! It's amazing what a good tidy up can do. We tackled my mum's attic the summer before last, which hadn't been dealt with since before my dad left in 2002. Lots of all sorts of memories in that room, which was not a small attic and was essentially not walkable in, such was the accumulation of STUFF. For 2016, I'm really hoping to pick up silversmithing again, I feel like I've really ground to a halt! Hence, I have no tips for removing the cab :-( Good luck!
Hi Claire, I've tried commenting on your blog but it wouldn't submit. Re your "stuck" stone. I'm new to silversmithing and have got a few stones stuck when checking they fit smile emoticon. The two tricks that work for me - 1. Use a piece of blue tack to ease the stone out - this probably wont work if the stone is stuck tight but its got me out of a few panics! 2. Drop the setting and stone onto a hard surface - this works but there is a risk that you will damage the stone in the process. Cant wait to see your new beads. Good luck with the stone. Denise xx
Chat Conversation End
Type a message...
..
Chat (7)
..
What a wonderful transformation!!!! Next time, when you are test fitting your cab, place a piece or two of dental floss beneath the cab FIRST, then you can easily use the floss as a pulley to get that cab back out! yEsterday, I JUST removed a cab from a setting I was not pleased with. I very carefully used the tip of my exact knife to pry the silver away from the cab. you must go slowly....micro millimeter by micro millimeter....and have patience. But, It worked! Best of luck to you!
That new space is right cozy, a little Harry Potter-esque, but bright and new! You will make magic in there as well! I want to finish my clean up project from September. I really must. Because I am putting on my second ever gallery exhibit in September and I must get started in February with all the plans and the making of course! I am not sure if this will help your plight, but I seem to recall seeing in a tutorial on bezel setting that a small hole in the back is drilled for just such a reason, so you can insert something to pop it out. Maybe you could do that gently? That is a skill I would like to learn myself. And if no suggestions work I suggest contacting Kate Richbourg and asking. She is awesome! (And I know I cannot win....just trying to help!) Enjoy the day! Erin
Have you tried warming the metal and iceing the stone? A needle and some oil? Theremay be a little lip that is holding it back if the needle is flat enough or those really thin metal my husband says that they measure a spark plug gap they get really thin and are shaped like a popsicle stick and they fan out from thick to thin maybe that will get under it and they flex I stole mine from my husband.
This year I am hooping my husband finds me a small kiln and I can get back into ceramics untill then I play with polymer clay and metal. I would like to add soldering to my list and yes I want my Etsy to be productive.
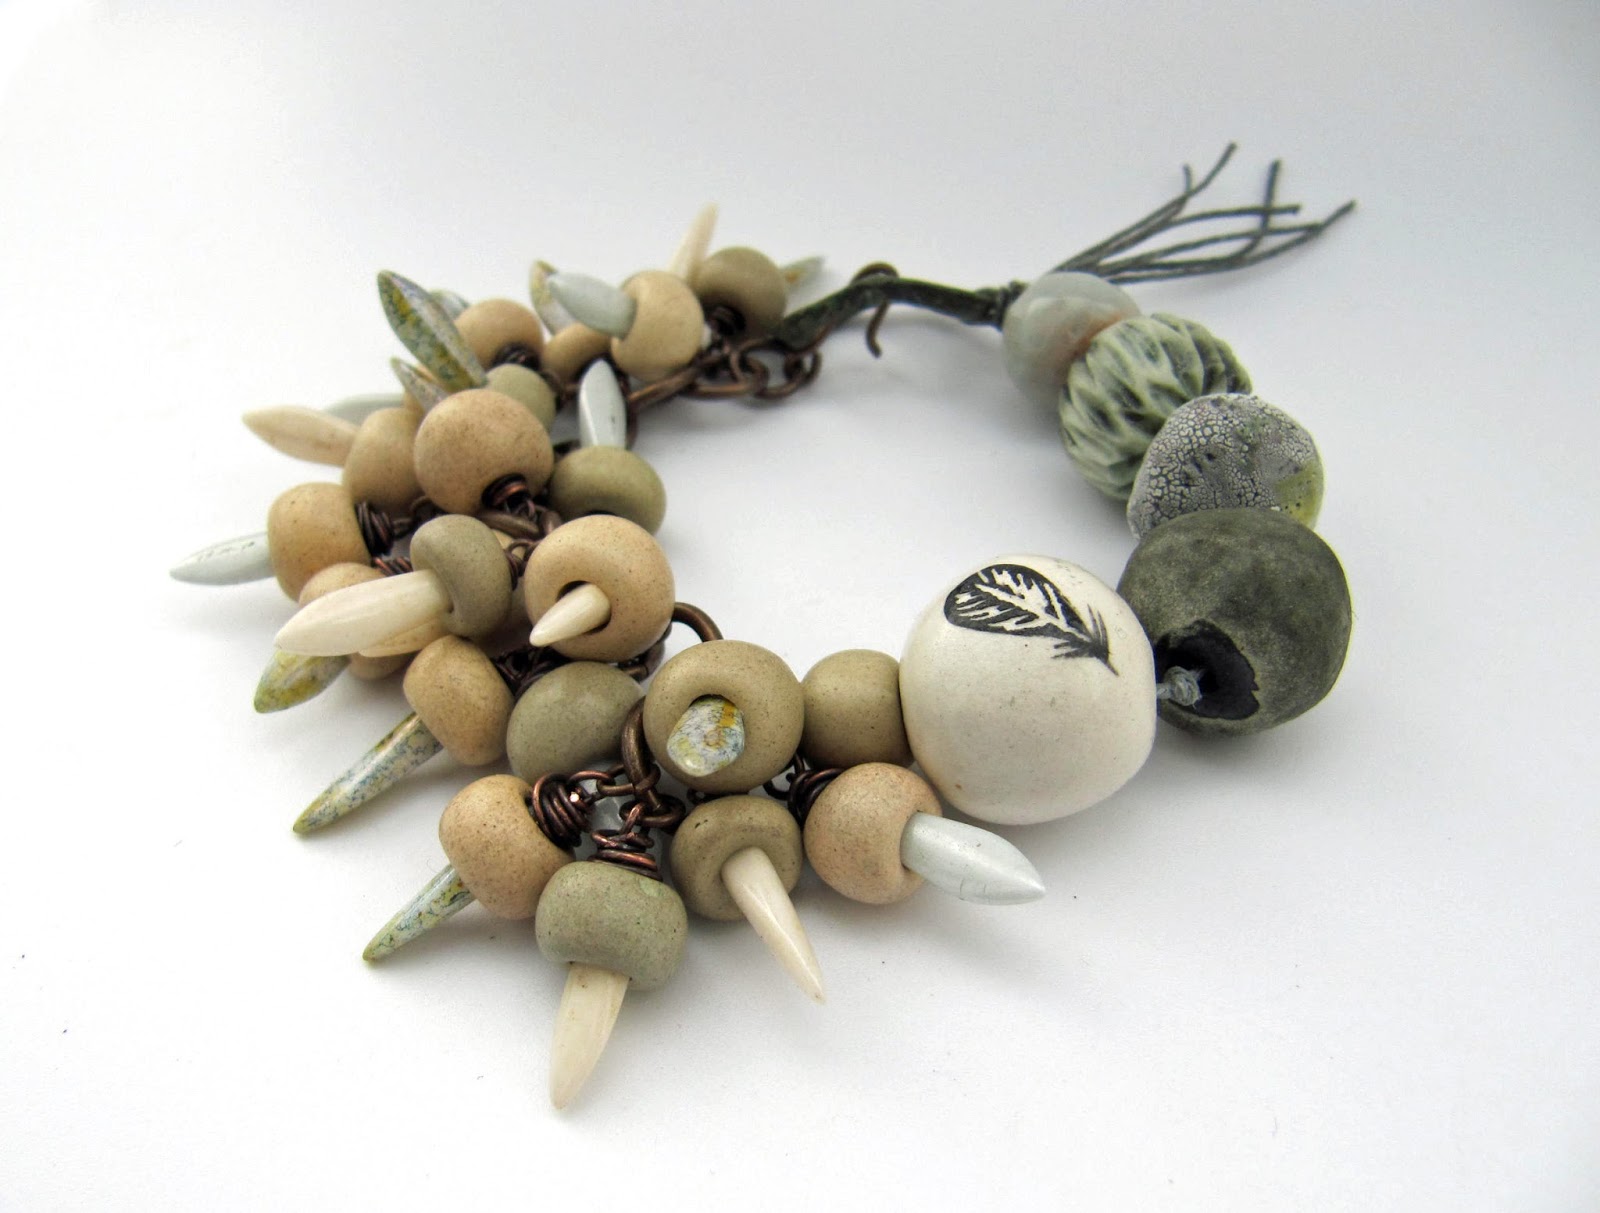
Congrats on your new workspace! Nothing like a fresh new work spot. Enjoy! I adore your work. Your assemblage pieces have a wonderful balance and combination of texture and color. I'm fascinated with your spiky bead bracelet and the earrings pictured just following that-wow! For 2016? To make time for creative play in the studio. Just for the fun of it regardless of the results. To get your stone out of the bezel you might try warming the bezel in hot water. Then turn it stone down and gently tap it from behind over a soft surface. The stone should pop out as the metal expands from the heat. To avoid this happening in the future, just slide a piece of dental floss under the stone as you test the fit in the bezel. A tug on either end of the floss will lift the stone with no damage to the bezel.
Try putting your bezel in the freezer. That may work. For next time, lay a sting of dental floss in the bezel before you put in the stone. The you can use the floss to put out the stone. Good luck!!
Would putting your piece in the freezer help? As it cools it may contract just enough to loosen it.
Otherwise all I can think of is to come in from the backside with a drill bit.
After spending all last year doing weekly dragon sculptures (https://www.pinterest.com/sandysewin/thursdays-dragon) I plan on focusing more on figure sculpting this year. Also I want to get into metal clay, and continue my fairy garden series in Polymer Café magazine. Oh, and I'm thinking of writing a book of tutorials on some of the dragons. So, busy, busy!
What an amazing transformation of your space! We're moving in 2 weeks and my studio is all boxed up at the moment. My goal is to organize my new space in a way that will facilitate better productivity. Starting from scratch and organizing things so that they are accessible with "a place for everything and everything in its place".
Hi Claire--I just love seeing where you're coming from and the way your pieces are evolving--those beads, too!!! It's inspiring to know you're out there, working away. Makes me feel not so alone in my studio. Anyway, I have plans to continue with metalsmithing. It's such a slow development for me. Or more weaving, or both. I'd love to mix soft materials with metal components and more delicious beads. :-) PS, you are one of those amazing creatures who manage to do BOTH beads and your own jewelry--a distinctive style you have. Lovely.
I would like to explore new techniques in my enameling, to experiment more. I also want to learn how to solder especially bezel making. I have the supplies and plenty of books and videos, I just need the patience to learn which is not my strong suit!
I hope to open my first online shop, and contact some local boutiques about the possibility of distributing some pieces there.
I'd love to expand to new techniques, like bead weaving, this year, as well as improving my wirework.
A precision cutter might be the only solution for a bezel glued really well, providing it's the bezel and not the stone you are prepared to sacrifice.
Perhaps a local jewellery maker with the right equipment could do it for you.
I've also found this link, which might be helpful:
http://blog.esslinger.com/how-to-open-and-close-a-silver-bezel-setting/
Best of luck,
Despina
deb_oro@yahoo.gr
Wonderful transformation; I am scared to clean up my stash cupboard - it keeps growing like a monster. My life is quite hectic these days and doesnt leave me with any time to create a new collection. so that is my first priority for the year followed by attempt to create content for a book. I hope I succeed.
A lot of people seem to have coated my tip above - Put the cab in the fridge/freezer for a while or put in a bowl of hot (not boiling) water and try an pry it out using a wooden stick/spoon. If that doesnt work, take a needle file and gently file at the bezel joint at the back creating a tiny hole and then tap the stone in reverse, it might come out
Your new room is a great inspiration for me. I have a space that could use some tidying and then off I would go creating. I hope to tackle some projects I've had on hold, once I organize again and find the coupe supplies that I have seemed to 'misplaced'.
I would try and find the stickiest tape and try and get it to grab the stone and pull it out while holding it upside down. Maybe combine the techniques mentioned in other comments, such as heat the metal. Good luck!
The bit about dumping happening in your space after a rotten time so resonated with me. I have been there many times. It feels so great to reorganize, reshuffle, renew, and find that with the peacefulness of the new space one can leave more and more of that struggle behind. Start anew :) I'm excited to see more of what you're working on at your new bench, and I love all the new work here too! xo -- Julie
My plans for 2016 include learning how to make beads from polymer clay and to make some copper components. I am slowly work on both. I also would like to make a dent in my art bead collection. It isn't huge, but I would like to use some so I can buy more!
Sadly, I have no tip on how to free the cabochon from its bezel.
I love the transformation of the room!
Maybe if you reheat the bezel it will expand and the stone will come out? Also, you need really good ventilation when using a torch. I would do the torch work some where else and the hammering and production work in the new space. Be safe.
Plan for this year is to be productive online. I sell in local shops but not online so that is my goal.
Try using a bit of oil to lubricate the bezel, rub it in around the edges with your fingers so it goes between the stone and bezel as much as is possible. Remember that if you put pressure on one part of the bezel it will tighten the other side so go easy. If you can do it in a discreet place that wont ruin the bezel you could try making a small hole on the bottom edge just big enough to stick a pin in to push it up from the bottom? -( I've never tried that though)
I hope to have an Etsy shop by the end of the year.
Your new space looks so good. Have to work on doing that to my area.
Sorry but I have nothing to add to the other suggestions.
Carolyn
Carolynscreations@live.com
Your new work is fantastic Claire. Love all the textures colors and shapes you create. I loved seeing your necklace Perched In the Soul in the newest issue of Stringing Magazine. You beads are so especially great in jewelry and it is wonderful that you are making them available to so many of us.
Post a Comment